
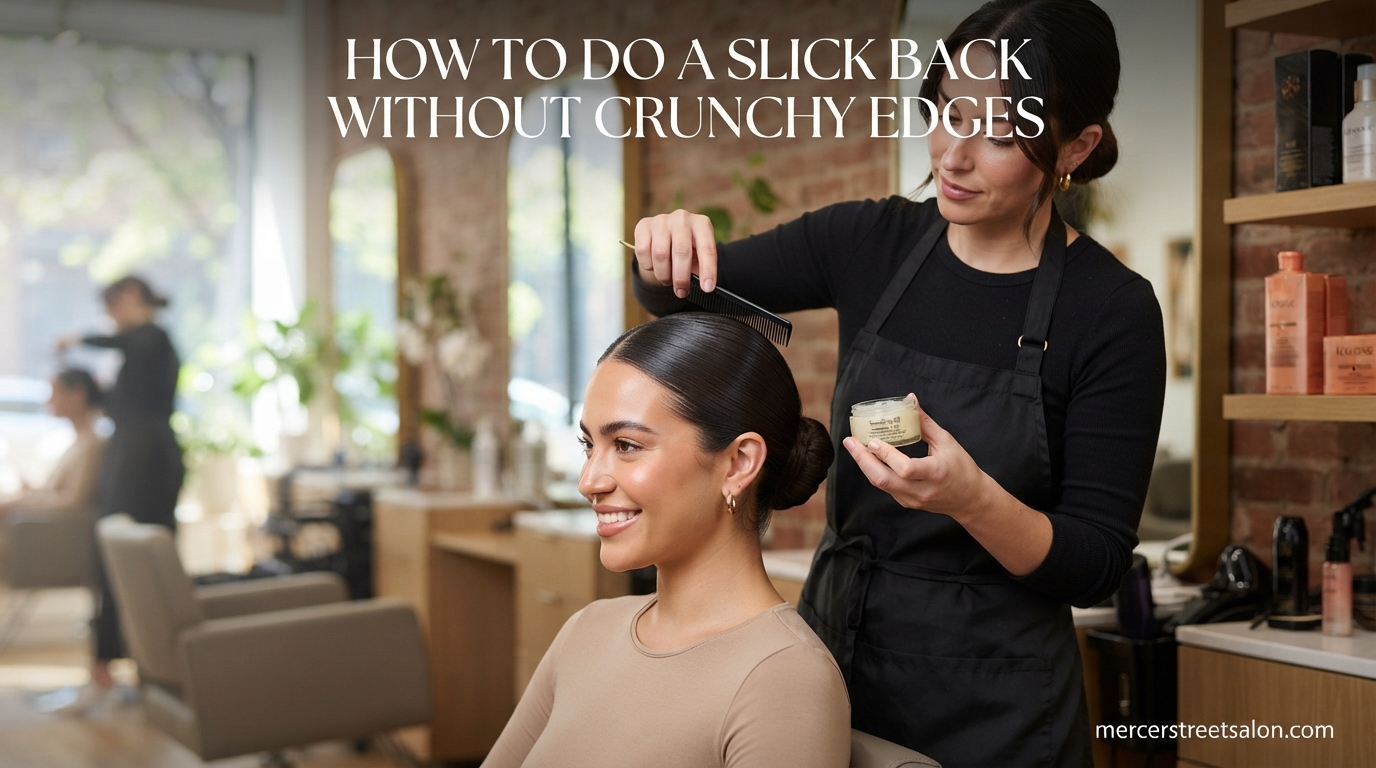
I have spent years behind the chair at Mercer Street Salon watching clients walk in frustrated by the same problem: a slick back that looks flawless in the mirror at 8 AM, then turns stiff, flaky, and crunchy by lunch. Learning how to do a slick back without your edges looking crunchy comes down to three things I will walk you through: choosing the right product type, using the correct brush technique, and applying everything in the right order.
The good news is that the crunchy look is completely avoidable once you understand what causes it. Heavy alcohol-based gels, too much product layered on at once, and brushing hair dry are the main culprits behind that stiff, helmet-like finish. I have tested every combination of products and tools on different hair textures, and the fix is simpler than most people think.
In this guide, you will learn a step-by-step technique for a soft, sleek, glossy slick back that holds all day without the crunch. I will also cover which product types actually work, the difference between a soft and hard brush, how to protect your edges from tension damage, and the common mistakes that ruin an otherwise great style.
Table of Contents
Why Your Slick Back Ends Up Crunchy
Crunchy edges happen when styling products dry into a rigid shell instead of staying flexible. Most traditional gels contain high amounts of alcohol and holding polymers that lock hair in place but create that telltale stiff texture the moment they fully set. The result is hair that feels like plastic to the touch and flakes when you brush through it later.
Over-application is the second biggest cause. When you layer gel over gel, or mix a heavy edge control on top of a styling cream, the product builds up and creates a crusty finish. I see this constantly with clients who think more product equals more hold. In reality, too much product gives you the opposite of the smooth, polished look you want.
Applying product to dry or dirty hair also contributes. Dry hair absorbs product unevenly, which causes patchy stiffness and visible white flakes. Clean, damp hair distributes product smoothly and gives you that glossy, wet-look finish without the crunch. Hair type plays a role too. Coily and curly textures need more slip and moisture to lay flat, while straight hair can go crunchy fast if you use a product with too strong a hold.
How to Do a Slick Back Without Crunchy Edges: Step by Step
Getting a slick back without crunchy edges is all about layering lightweight products in the right order and brushing with intention. Follow these seven steps for a smooth, flexible, glossy finish that lasts all day.
Step 1: Start With Clean, Damp Hair
Wash your hair or at least rinse it thoroughly before styling. Clean hair holds a slick back far better than second-day hair because there is no oil or product buildup to interfere with your styling products. After washing, towel-blot your hair until it is damp but not dripping wet. Hair should feel like a sponge that has been wrung out, not soaked.
Step 2: Apply a Leave-In Conditioner or Primer
Before any hold product goes in, apply a small amount of leave-in conditioner or a styling primer. This creates a moisture barrier between your hair and the hold product, which is the single most effective way to prevent crunchiness. Work it through from roots to mid-lengths with your fingers. This step matters especially for color-treated, relaxed, or naturally dry hair textures.
Step 3: Use a Flexible-Hold Styling Product
This is where most people go wrong. Skip the maximum-hold gel and reach for a pomade, styling cream, or lightweight gel labeled as flexible or brushable hold. You want a product that sets with movement, not one that freezes your hair in place. Emulsify a dime-sized amount between your palms and smooth it through your hair from front to back. You can always add more, but starting with less prevents the crunchy buildup that ruins the look.
Step 4: Section Your Hair for Even Distribution
Sectioning is the step that separates a salon-quality slick back from a DIY attempt. Use sectioning clips to divide your hair into three horizontal sections: front, crown, and back. Work through each section individually, applying product and brushing from root to tip. This ensures every strand gets coated evenly instead of piling all the product on the front section while the back stays dry and frizzy.
Step 5: Brush With a Soft Boar Bristle Brush
Once product is distributed, take a soft boar bristle brush and smooth your hair back in long, even strokes. The boar bristles distribute natural oils and product evenly while laying the cuticle flat for that glossy, polished finish. Brush from the hairline back toward the crown, then from the crown down to the nape. Forum users on Reddit consistently report that soft bristle brushes give a smoother, less stiff result than hard brushes, and I have found the same thing behind the chair.
Step 6: Smooth Edges Sparingly With Edge Control
For the hairline and baby hairs, use a small dab of edge control or edge tamer on a toothbrush or a small edge brush. The key word here is sparingly. Too much edge control is the number one cause of crunchy, flaky edges. Apply a thin layer, shape your baby hairs if desired, and stop. If you can see visible white residue, you have used too much.
Step 7: Set With a Light Finishing Spray
Finish with one or two light mists of a flexible-hold hairspray held about twelve inches from your head. This locks everything in place without adding weight or stiffness. Avoid pumping hairspray directly onto your edges, as that will undo all your careful work and bring the crunch right back.
Product Types That Prevent Crunchiness
Choosing the right product type is the foundation of a non-crunchy slick back. Here is how the main categories compare.
Pomade is my go-to recommendation for a soft, glossy slick back. Water-based pomades provide a flexible hold that stays touchable all day and washes out cleanly. They give you that sleek, wet-look finish without the helmet effect of traditional gel. Look for pomades labeled as medium or flexible hold.
Styling creams and smoothing serums are ideal for fine or straight hair that goes crunchy easily. These products add shine and control frizz with a very light hold. They are perfect if your hair is already fairly straight and you just need to smooth it back without stiffness. A smoothing serum also adds a glossy finish that makes the style look intentional and polished.
Lightweight or brushable gels can work if you love the gel feel but hate the crunch. Look for alcohol-free formulas labeled as flexible, soft, or brushable hold. These gels set with movement instead of freezing solid. Avoid anything labeled maximum, extreme, or freezing hold, as those are the formulas most likely to leave your edges looking and feeling like plastic.
Edge control and edge tamers are designed specifically for the hairline. The difference between a good edge control and a bad one comes down to flaking. A quality edge tamer goes on clear, dries smooth, and stays flexible. Cheap edge controls dry white and flake within hours. Ingredients matter: avoid products high in alcohol, and look for formulas with argan oil, castor oil, or aloe for a softer finish.
Soft Brush vs Hard Brush: Which One to Use
The brush you choose has a bigger impact on your final result than most people realize. Both soft and hard brushes have a place in a slick back routine, but they produce very different finishes.
A soft boar bristle brush is the best choice for a non-crunchy, glossy slick back. The natural bristles distribute oils and product evenly while smoothing the cuticle flat. This creates that sleek, shiny finish without pressing product into a stiff layer. Soft brushes are gentle on the hairline, which means less tension and less risk of breakage over time. I recommend a soft boar bristle brush for everyday slick backs, buns, and ponytails.
A hard brush or styling brush with firmer bristles creates a tighter, sleeker hold. It presses hair closer to the scalp, which gives that ultra-smooth, sculpted look you see on red carpets. The trade-off is that hard brushes can push product into a dense layer that dries stiffer. Use a hard brush when you want maximum sleekness for a special occasion, but pair it with a lightweight product to keep the finish flexible. Reddit users across multiple hair forums note that the hard brush gives a sleeker result but the soft brush keeps hair feeling natural and soft.
For most people, I suggest starting with a soft brush and only reaching for a hard brush if you need extra smoothness on a specific section. You can also use both: the hard brush first to lay the hair down, followed by a soft brush to smooth and add shine.
Taming Flyaways Without Stiffness
Flyaways are the enemy of a polished slick back, but blasting them with hairspray or piling on gel is exactly what causes crunchiness. There are better ways to handle them.
A flyaway stick is a small wand product designed to smooth stray hairs without adding weight or stiffness. You simply swipe it over flyaways and they lay flat instantly. Flyaway sticks are my favorite tool for finishing a slick back because they add zero crunch and zero flaking. Keep one in your bag for midday touch-ups.
If you do not have a flyaway stick, an unused toothbrush works just as well. Lightly mist the toothbrush with water or a tiny amount of hairspray, then gently brush flyaways down. The key is to apply product to the toothbrush, not directly to your hair. This gives you precise control and prevents the product overload that causes crunch.
A drop of smoothing serum rubbed between your palms and lightly smoothed over the surface of your hair is another effective option. The serum adds shine and weighs flyaways down just enough without creating stiffness. Use the lightest possible hand here. One drop too many and your hair goes from sleek to greasy.
Wet vs Dry Application: What Works Best
You should almost always slick back damp hair rather than fully dry hair. Damp hair is more pliable, absorbs product evenly, and dries into a smooth shape that holds without stiffness. Dry hair resists product, which leads to patchy application and the flaky, crunchy texture you are trying to avoid.
That said, there is a window. Hair that is soaking wet will dilute your product and reduce hold. Hair that has fully dried will not absorb product at all. The sweet spot is hair that is about 70 percent dry, or towel-dried to the point where it is damp but no longer dripping. If your hair dries before you finish styling, keep a spray bottle of water handy to re-dampen sections as needed.
For coily and curly textures, working with damp hair is especially important. These hair types need the extra slip and moisture to lay flat without tension. Straight and fine hair can tolerate slightly drier application, but damp is still the better choice for avoiding crunch.
Protecting Your Edges From Damage
A sleek style is not worth thinning edges or breakage. Tension from tight slick backs is one of the most common causes of hairline damage, and it builds up over time with repeated wear.
Never pull your hair back so tight that your scalp hurts or your skin feels lifted. A slick back should feel secure but comfortable. If you feel tension at your temples or along your hairline, the style is too tight. Use coated elastic hair ties or spiral ties instead of rubber bands, which snag and break hair.
Give your edges a break between slicked-back styles. Wearing a slick back every single day puts continuous tension on the same hairs, which can lead to traction alopecia over time. Alternate with looser styles a few days a week, and massage a small amount of castor oil or a scalp serum along your hairline at night to keep the area moisturized and healthy.
Forum users on Reddit frequently mention that tension from elastics and tight styles is a top concern. They are right to worry. Protecting your edges is just as important as making them look good.
Common Mistakes That Cause Crunchy Edges
Avoid these frequent errors and your slick back will stay smooth and soft all day:
- Using maximum-hold gel instead of a flexible-hold product.
- Applying edge control too thickly on the hairline.
- Layering multiple products without letting each one set.
- Brushing dry hair instead of damp hair.
- Spraying hairspray directly onto edges instead of from a distance.
FAQs
How to get a non-crunchy slick back?
Use a flexible-hold product like a water-based pomade or lightweight gel on clean, damp hair. Apply a leave-in conditioner first, use a soft boar bristle brush to smooth hair back, and finish with a light mist of flexible hairspray. Avoid maximum-hold gels and heavy edge control.
How do I make my edges soft after slicking back?
Apply edge control sparingly with a small brush, use only a thin layer, and choose an alcohol-free formula with moisturizing ingredients like argan oil or aloe. Avoid layering multiple hold products on your hairline, and finish with a drop of smoothing serum for a soft, glossy finish.
How to slick back edges without crunchiness?
Start with damp hair, apply a lightweight primer or leave-in, then use a flexible-hold styling cream or pomade. Smooth edges with a soft brush using gentle pressure, and use edge control sparingly only on baby hairs. Set with a light hairspray held at least twelve inches away.
Is it better to slick back hair wet or dry?
Damp hair is better for a slick back because it absorbs product evenly and dries into a smooth shape. Fully dry hair resists product and leads to patchy, flaky, crunchy results. Towel-dry your hair until it is damp but not dripping, then style.
Wrapping Up
Achieving a slick back without your edges looking crunchy comes down to using the right products in the right order with the right tools. Start with clean, damp hair. Layer a leave-in conditioner under a flexible-hold pomade or styling cream. Section your hair, brush with a soft boar bristle brush, and apply edge control sparingly. Finish with a light hairspray from a distance, and your style will stay sleek and soft all day.
The biggest takeaway is that less product with better technique always beats more product with poor technique. Flexible hold, gentle brushing, and moisture underneath your styling products are the three pillars of a glossy, non-crunchy finish. Practice the seven-step method a few times and you will have a salon-quality slick back you can recreate in minutes.