
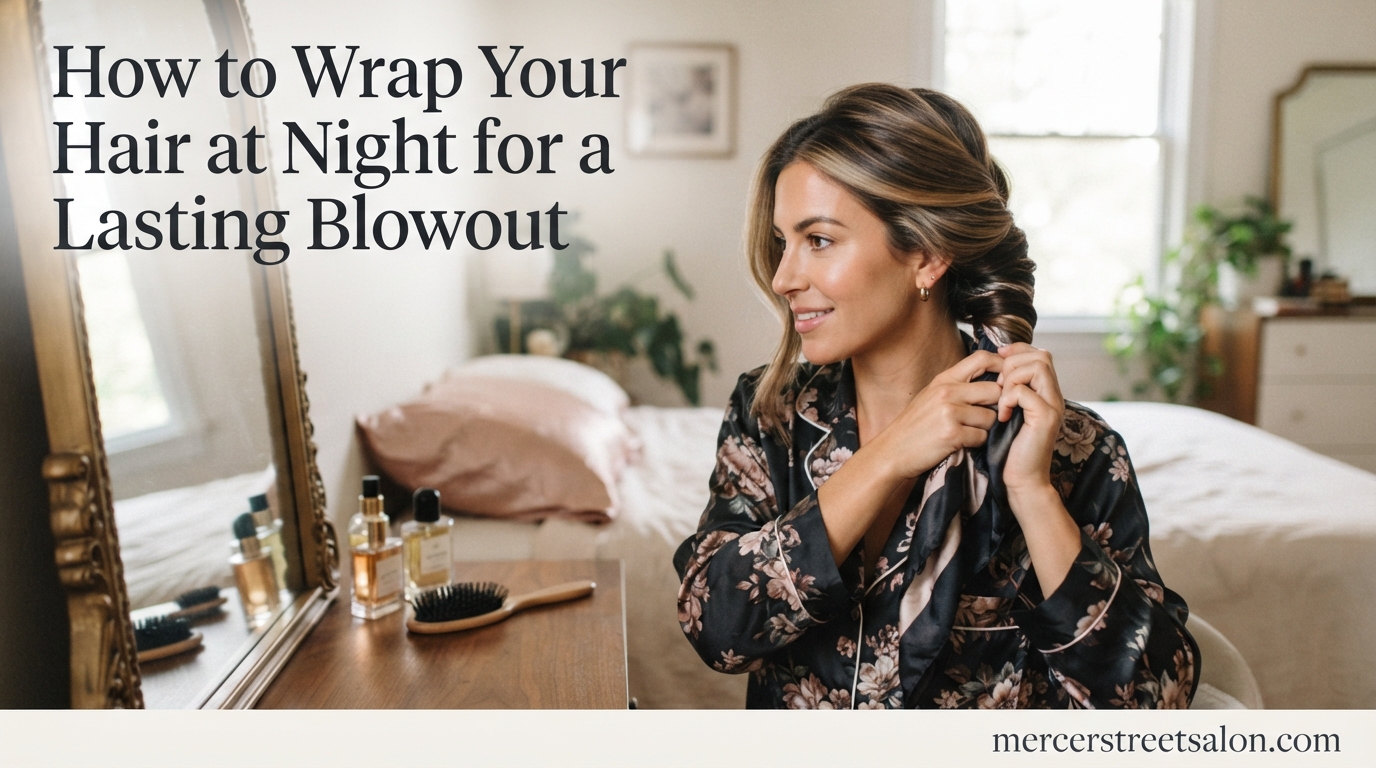
You spent an hour perfecting your blowout. The volume is bouncy, the ends are smooth, and your hair looks like you just walked out of a salon. Then you wake up the next morning to find it flat, dented, and frizzy. Sound familiar?
Learning how to wrap your hair at night to keep a blowout for days is the single most effective way to stretch that fresh-from-the-salon look into a 3 to 5 day style. I have tested every wrapping method out there, from pineapple ponies to silk bonnets, and I can tell you that the right technique makes all the difference.
The secret comes down to two things: reducing friction while you sleep and keeping your hair held in a position that preserves volume at the crown. Once you master both, your blowout will hold far longer than you ever thought possible.
In this guide, we will walk through every wrapping method, break down which technique works best for your hair type, and cover the morning refresh tricks that bring tired hair back to life.
Table of Contents
Why Wrapping Your Hair at Night Matters
Every time your hair rubs against a cotton pillowcase, friction builds up. That friction roughs up the hair cuticle, which causes frizz, tangling, and breakage. It also flattens out the volume you worked so hard to create.
Wrapping your hair creates a protective barrier between your strands and the surface you sleep on. It holds your style in place so the shape does not distort overnight. Think of it as a soft mold that keeps every section exactly where it belongs.
A good wrapping routine also protects your investment. Professional blowouts cost time and money. When you extend the life of your style from one day to four or five, you save yourself repeated salon visits and heat exposure from constant restyling.
People on hair care forums consistently report that a consistent night wrapping habit is the number one factor in making a blowout last. The cross wrap method, in particular, gets praise for keeping relaxed and straight styles smooth for days.
What You Need Before You Start
Having the right tools on hand makes the wrapping process quick and painless. You do not need a massive collection, just a few key items.
Satin or silk pillowcase: This is your base layer of protection. Even if your wrap comes loose overnight, a smooth pillowcase acts as a backup against friction.
Satin or silk scarf: A large square scarf gives you the most versatility for wrapping. Look for one that is at least 22 by 22 inches so it covers your full head.
Silk or satin bonnet: Some people find bonnets easier and more secure than scarves. A bonnet with an adjustable band is ideal because it stays put without leaving a dent across your forehead.
Satin scrunchies: Never use elastic bands. They leave creases and cause breakage. Satin scrunchies hold hair gently without leaving a mark.
Wide-tooth comb and boar bristle brush: These help you smooth your hair flat before wrapping and distribute natural oils without disrupting your style.
Optional but helpful: Duckbill clips for securing sections, velvet rollers for maintaining bend at the ends, and a light oil or serum for sealing in moisture.
How to Wrap Your Hair at Night to Keep a Blowout for Days
If you want a straight, smooth blowout to last, the traditional wrap method is your best friend. This technique involves wrapping your hair around your head in a flat, circular pattern so it stays sleek and volume-ready come morning.
Follow these steps to wrap your hair at night to keep a blowout for days:
Step 1: Start with dry, detangled hair. Never wrap damp hair. Moisture trapped against your scalp overnight can cause frizz and even mildew. Run a wide-tooth comb through your hair to remove any tangles from the day.
Step 2: Part your hair where you normally do. A center or side part both work. The key is to keep the part consistent so the wrap lays flat against your head.
Step 3: Take the section on one side and begin wrapping. Using your boar bristle brush, smooth the hair down and around your head. Use duckbill clips to hold each section in place as you go.
Step 4: Continue around the back of your head. Keep the hair flat against your scalp, not piled on top. Wrap direction should go clockwise or counterclockwise, whichever feels natural for your growth pattern.
Step 5: Repeat on the other side. Once one side is fully wrapped, do the same with the remaining section. The two sides should meet seamlessly around your head.
Step 6: Secure with a satin scarf. Fold your scarf into a triangle, place the long edge at your forehead, and tie it at the back of your head. Tuck the ends in so nothing pulls while you sleep.
Step 7: Add a silk bonnet on top. For extra security, layer a bonnet over the scarf. This combo keeps even the slipperiest scarf in place all night.
Step 8: Unwrap in the morning. Remove the bonnet and scarf, then gently unwrap your hair section by section. Use your fingers or a wide-tooth comb to release the style. Finish with a light serum for shine.
Forum users with relaxed hair swear by this method, often reporting their blowouts look fresh through day four when they wrap consistently.
The Pineapple Method Step-by-Step
The pineapple method is perfect if your blowout has volume and body that you want to preserve rather than flatten. It gathers your hair at the very top of your head so the crown stays untouched all night.
This method works particularly well for blowouts with loose waves or curls because it keeps the shape intact without crushing it.
Step 1: Flip your head upside down and gather all your hair at the highest point of your crown.
Step 2: Secure loosely with a satin scrunchie. Wrap the scrunchie only once or twice so it does not leave a dent. The ponytail should feel loose enough that you can slide it off easily.
Step 3: Tuck the ends of the ponytail loosely into the scrunchie or let them fan out naturally. The goal is to keep them off the pillow without crushing the shape.
Step 4: Sleep on a satin or silk pillowcase as added protection.
Step 5: In the morning, remove the scrunchie, flip your head upside down, and shake out your roots. Use your fingers to reshape and add a spritz of dry texturizing spray for extra lift.
The pineapple method is a favorite among curly and natural hair communities. It keeps volume high and prevents the back of your head from flattening while you sleep.
The Cross Wrap Method
The cross wrap is a variation of the traditional wrap that works beautifully for longer hair. Instead of wrapping everything in one direction, you split your hair into two sections and cross them over each other around your head.
This method distributes tension more evenly, which helps prevent dents and keeps the wrap from unraveling during the night.
Step 1: Part your hair down the middle from front to back, creating two equal sections.
Step 2: Take the right section and smooth it over the top of your head toward the left side. Clip it in place just above your left ear.
Step 3: Take the left section and smooth it over the top toward the right side. Cross it over the first section and clip it above your right ear.
Step 4: Continue wrapping any remaining length around your head until all hair is secured flat against your scalp.
Step 5: Cover with a satin scarf tied snugly at the back.
Reddit users in the relaxed hair community call this method a game changer for preserving silk presses and blowouts. The cross pattern holds hair more securely than a single-direction wrap, especially for thick or long hair.
Satin Scarf and Bonnet Wrapping Technique
Not sure whether to use a scarf or a bonnet? Both work, but the best choice depends on your comfort and how much you move in your sleep.
Scarves offer a custom fit. You control the tightness, and they sit flat against your head, which means no bulk to sleep on. The downside is they can slip off if you toss and turn.
Bonnets are foolproof. Once they are on, they stay put. Look for one with a satin lining and an adjustable elastic or drawstring band. Avoid bonnets with tight, non-adjustable bands because they can leave a crease across your forehead.
For maximum protection, use both. Wrap your hair first, tie down with a scarf, then add a bonnet on top. This double-layer approach is what many stylists recommend for high-humidity climates or for people with very fine hair that frizzes easily.
When tying a scarf, position the knot at the back of your head or at the nape of your neck. Tying at the top puts pressure on your crown and can flatten the very volume you are trying to protect.
One forum tip worth noting: silk scarves tend to slip more than satin ones. If you have trouble keeping a silk scarf in place, switch to satin or use a few bobby pins along the edge to anchor it.
Hair Type Specific Guidance
No single wrapping method works for every hair type. The texture, density, and length of your hair all affect which technique will give you the best results.
Fine Hair
Fine hair is the most fragile when it comes to overnight protection. It flattens easily and shows dents from any pressure. For fine hair, the pineapple method is usually your best bet because it lifts hair off the pillow entirely.
Avoid heavy wrapping that presses hair flat against your scalp. Use a silk pillowcase and a loose satin scrunchie, and skip the bonnet if it feels too heavy on your crown.
A light dry shampoo applied at the roots before bed absorbs overnight oil so your hair still has lift by morning.
Thick Hair
Thick hair holds a blowout well but can be bulky to wrap. The traditional wrap method works, but you may need extra clips to keep all your hair secured flat.
The cross wrap method is especially effective for thick hair because the two-section approach prevents the wrap from becoming too thick on one side of your head.
Natural and 4C Hair
If you have a silk press or blown-out natural hair, protection is non-negotiable. Even one night without wrapping can cause reversion at the roots and ends.
The traditional wrap secured with a scarf and topped with a bonnet is the most reliable method. Apply a small amount of lightweight oil, like argan or Batana oil, to your ends before wrapping to lock in moisture and prevent frizz.
Sleep on a silk pillowcase as a backup in case your wrap shifts. Humidity is the enemy of a silk press, so keeping hair fully covered is essential.
Relaxed Hair
Relaxed hair responds incredibly well to wrapping because the texture is already smooth and sleek. The cross wrap or traditional wrap will keep your style looking fresh for up to five days.
Be gentle when wrapping relaxed hair, especially near the hairline. Use a soft boar bristle brush rather than a comb to avoid tension on fragile edges.
Morning Refresh Tips to Revive Your Blowout
Even with the best wrapping routine, your blowout may need a little help in the morning. A good refresh routine takes under five minutes and can add two extra days to your style.
Use dry shampoo at the roots. Apply it the night before if you know your hair tends to get oily overnight. In the morning, massage it in with your fingertips and brush through to absorb any residue.
Smooth the ends with a flat iron or curling iron. If your ends have lost their bend, wrap small sections around a curling iron for a few seconds. For straight styles, run a flat iron over just the ends to refresh the sleek finish.
Add volume with a velcro or velvet roller at the crown. Roll the top section of your hair and leave it in while you do your makeup or drink your coffee. Remove it after ten minutes for instant lift.
Apply a pea-sized amount of serum to your ends. This adds shine and tames any flyaways that appeared overnight. Avoid applying serum near your roots because it will weigh your hair down.
Flip and shake. The simplest trick of all is flipping your head upside down and shaking out your roots with your fingers. This reactivates volume instantly and redistributes natural oils through your lengths.
Velvet rollers get consistent praise on hair forums for being gentler than velcro rollers. They preserve curl and bend without snagging or pulling.
Common Mistakes to Avoid
Even with the right technique, certain habits will sabotage your blowout overnight. Here are the most common mistakes and how to fix them.
Using elastic hair ties: Regular elastics leave dents and cause breakage. Always swap them for satin scrunchies.
Wrapping damp hair: Trapped moisture causes frizz and can lead to a musty smell. Make sure your hair is completely dry before wrapping.
Sleeping on a cotton pillowcase: Cotton absorbs moisture from your hair and creates friction. Switch to satin or silk immediately.
Tying your scarf too tight: A too-tight scarf causes headaches and can leave a ridge across your forehead. It should feel snug but comfortable.
Skipping the wrap because you are tired: One unprotected night can undo days of effort. Keep your scarf or bonnet on your nightstand so wrapping becomes a habit.
Overusing dry shampoo: Too much product buildup makes hair look dull and heavy. Use a light hand and focus only on the roots.
FAQs
How to wear hair to sleep to preserve a blowout?
The best way to wear your hair to sleep after a blowout is to wrap it flat against your head using the traditional or cross wrap method, then secure it with a satin scarf and optional bonnet. Alternatively, use the pineapple method by gathering hair loosely at the crown with a satin scrunchie. Always sleep on a satin or silk pillowcase as added protection.
How to get an overnight blowout to stay all day?
To make your blowout last all day after sleeping, refresh it in the morning with dry shampoo at the roots, a quick pass of a flat iron or curling iron on the ends, and a velvet roller at the crown for volume. Finish with a small amount of serum on the ends for shine.
How to wrap hair for an overnight blowout?
Brush your dry hair smooth, part it, then wrap sections flat around your head using the traditional wrap or cross wrap method. Secure with duckbill clips, cover with a satin scarf tied at the back of your neck, and optionally layer a silk bonnet on top for extra protection.
Will a blowout last 2 days?
Yes, a blowout can easily last 2 days and often stretches to 4 or 5 days with proper wrapping at night. The key is reducing friction with satin or silk protection and refreshing with dry shampoo and light heat styling in the morning.
Which direction should you wrap your hair?
You can wrap your hair clockwise or counterclockwise, whichever follows your natural growth pattern and feels most comfortable. The most important factor is keeping the hair flat and smooth against your head, not the specific direction.
Does wrapping your hair protect it?
Yes, wrapping your hair at night protects it from friction, breakage, tangling, and moisture loss. It keeps your style in place and helps prevent frizz caused by rubbing against cotton pillowcases.
Do silk hair wraps actually work?
Yes, silk and satin wraps are highly effective at preserving blowouts overnight. They reduce friction, prevent frizz, and keep hair smooth. Silk is slightly more breathable while satin is more affordable and grips better, but both are far superior to cotton.
How to keep a blowout overnight without a bonnet?
If you dislike bonnets, use the pineapple method with a loose satin scrunchie and sleep on a silk or satin pillowcase. You can also wrap your hair flat and secure it with a satin scarf tied at the nape of your neck.
Final Thoughts on Preserving Your Blowout
Mastering how to wrap your hair at night to keep a blowout for days takes a little practice, but once it becomes routine, you will never go back to sleeping unprotected. The combination of a smooth wrap, a satin or silk barrier, and a quick morning refresh can stretch a single blowout into a full week of great hair.
Start with whichever method sounds most comfortable for your hair type, and do not be afraid to mix techniques until you find your perfect routine. Your blowout, and your wallet, will thank you.