
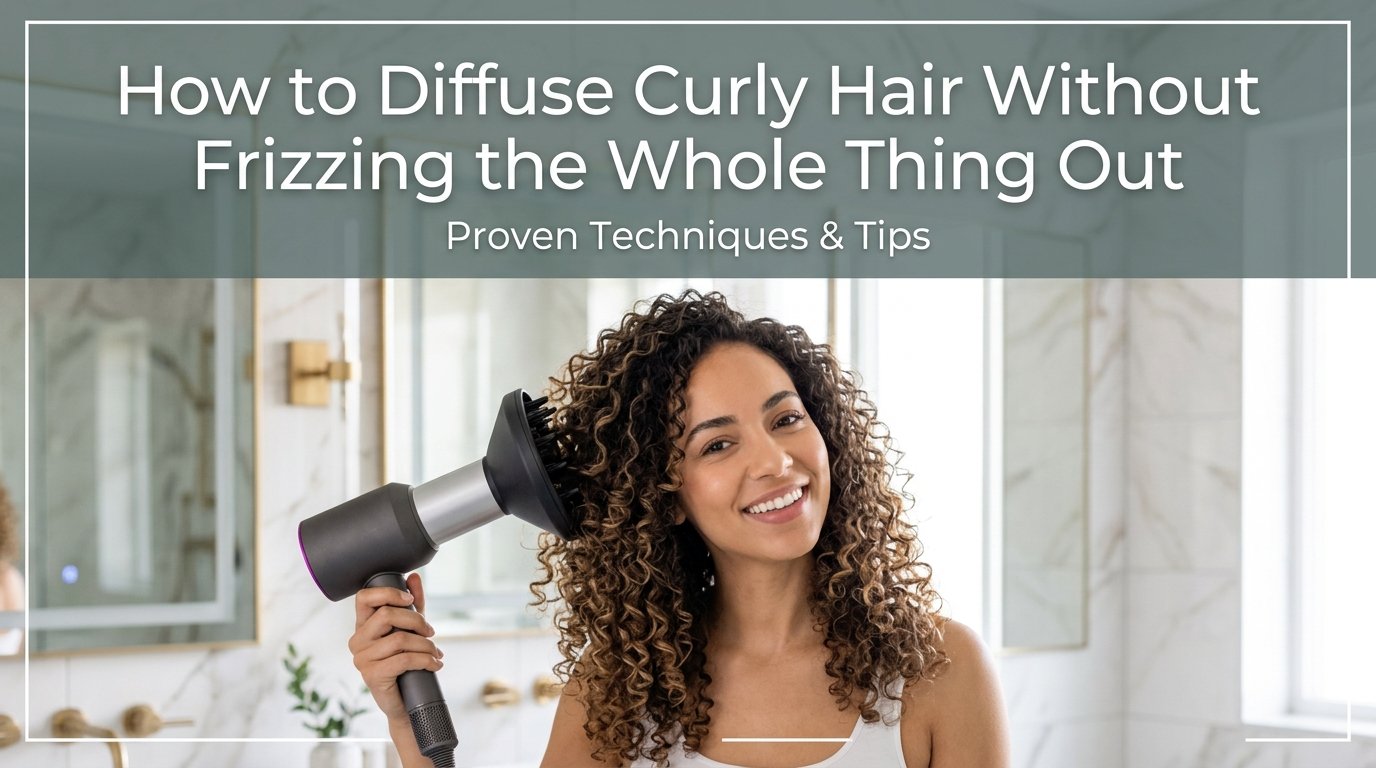
If you have ever turned on your blow dryer with a diffuser attached and watched your curls turn into a frizzy mess before your eyes, you are in good company. Learning how to diffuse curly hair without frizzing the whole thing out is one of the most frustrating skills for anyone with wavy, curly, or coily hair. I have been there myself, standing in the bathroom with damp hair and a diffuser, wondering why my curls looked worse after diffusing than they did before I started.
The good news is that diffusing does not have to end in frizz. The technique itself is not complicated, but the details matter. Things like how wet your hair is when you start, what heat setting you use, how long you hold the diffuser in one spot, and whether you touch your hair while it dries all determine whether you end up with defined bouncy curls or a halo of frizz.
In this guide I am going to walk you through the exact method I use and the techniques that have helped thousands of people in the curly hair community finally get frizz-free results from their diffuser. We will cover the science of why frizz happens during diffusing, the prep steps that make the biggest difference, the three main diffusing methods, common mistakes and how to fix them, hair type-specific tips, and product recommendations that actually work.
Whether you have loose 2a waves or tight 4a coils, this guide will give you a clear path to diffusing your hair without frizzing the whole thing out. Let us start with the quick answer for those who want the method right away.
Table of Contents
Quick Answer: The 5-Step Frizz-Free Diffusing Method
Here is the short version for anyone who wants to skip ahead. To diffuse curly hair without frizzing the whole thing out, follow these five steps.
Apply products to soaking wet hair. Distribute leave-in conditioner, curl cream, and a strong-hold gel while your hair is still dripping wet so each strand gets coated before curls start forming.
Microplop to remove excess water. Use a microfiber towel or cotton T-shirt to gently scrunch and lift water out of your hair for 2 to 5 minutes. Never rub.
Hover diffuse on low heat and low airflow. Hold the diffuser 2 to 3 inches from your head without touching your hair until a gel cast forms, usually 5 to 8 minutes. This sets the curls before you start moving them around.
Pixie diffuse in sections. Gently place sections of hair into the diffuser bowl, turn it on, hold for 20 to 30 seconds, then turn it off before removing. Move section by section around your head, tilting to different sides for root volume.
Break the cast and finish. Wait until hair is 80 to 90 percent dry, then gently scrunch with a small amount of hair oil to break the gel cast and reveal soft, defined curls.
The rest of this article explains each step in detail so you can adapt the method to your specific hair type and routine.
What a Diffuser Actually Does to Your Curls
A diffuser is a bowl-shaped attachment that snaps onto the end of your blow dryer. Instead of forcing a concentrated blast of air in one direction, a diffuser spreads that air out across a wider surface using a set of prongs and small holes. This gentler, wider airflow is what makes diffusing different from regular blow drying.
When you use a blow dryer without a diffuser, the concentrated airflow physically pushes your hair strands in different directions. For straight hair this does not matter much. For curly hair, where each strand is shaped into a coil or wave, that turbulent air disrupts the curl pattern and roughs up the cuticle. The result is frizz, flyaways, and curls that look stretched out or stringy.
The diffuser solves this problem by breaking the airflow into softer streams that dry your hair in place. Your curls sit undisturbed in the diffuser bowl while warm air passes gently around them. Think of it like air drying your hair, but faster and with the added benefit of heat to help set the curl shape.
Here is the science of why frizz happens in the first place. Each hair strand has an outer layer called the cuticle, which is made up of overlapping scales. When those scales lie flat, your hair looks smooth and shiny. When they lift up, light scatters in different directions and your hair looks dry, fuzzy, and frizzy. Frizz is essentially lifted cuticles. Heat, humidity, friction, and turbulent airflow all cause cuticles to lift.
This is why the diffusing technique matters so much. Low heat keeps cuticles from lifting due to thermal stress. Low airflow prevents physical disruption. Diffusing downward or with hair cupped in the bowl prevents the air from pushing cuticles open. And applying the right products beforehand coats each strand and seals the cuticle against humidity.
Understanding this mechanism helps you troubleshoot on your own. Anytime you see frizz, ask yourself which of these factors caused the cuticle to lift. Was the heat too high? Did you touch your hair while it was drying? Did you start diffusing while your hair was too wet, before the curl pattern had set? Once you understand that frizz equals lifted cuticles, you can adjust your technique accordingly.
Before You Diffuse: Prep Steps That Make All the Difference
The secret to frizz-free diffusing starts long before you turn on the dryer. How you wash, condition, apply product, and prepare your hair determines the foundation your curls are built on. If you skip or rush these steps, no diffusing technique will save you from frizz.
Start With Properly Cleansed and Conditioned Hair
Diffusing works best on freshly washed hair. Product buildup, oils, and dirt weigh curls down and prevent them from forming clean clumps. Use a sulfate-free shampoo or co-wash to cleanse your scalp without stripping your hair. Follow with a moisturizing conditioner, and detangle gently with your fingers or a wide-tooth comb while the conditioner is still in.
The conditioning step matters because well-moisturized hair is less prone to frizz. Dry hair seeks moisture from the air, which causes the cuticle to swell and lift. Well-hydrated hair has less incentive to grab moisture from the environment, which means less frizz.
Apply Products to Soaking Wet Hair
This is one of the most important and most overlooked steps. Apply your styling products while your hair is still soaking wet, ideally while you are still in the shower. When hair is dripping wet, the products distribute evenly across every strand. As your hair dries, the curl pattern sets with the product already in place, sealing each strand and keeping the cuticle flat.
If you wait until your hair is damp or partially dry, the product sits on top of the hair instead of coating it evenly. You get patchy coverage, and the dry areas of your hair are already vulnerable to frizz.
A typical product routine for diffusing looks like this. Start with a leave-in conditioner sprayed or raked through soaking wet hair. Follow with a curl cream to add moisture and help curls clump together. Finish with a strong-hold gel applied using the scrunching method to lock everything in place. The gel creates what curl enthusiasts call a gel cast, a firm shell around each curl that keeps it defined and frizz-free while it dries.
Microplop to Remove Excess Water
Microplopping is a technique where you use a microfiber towel or cotton T-shirt to gently scrunch your hair and remove excess water before diffusing. This step is essential because diffusing soaking wet hair takes forever and can cause frizz as water droplets disturb the curl pattern. But rubbing with a regular towel creates friction that roughs up the cuticle and causes immediate frizz.
To microplop correctly, lay a microfiber towel flat on your hand, gently scrunch sections of your hair upward toward your scalp, and hold for a few seconds to let the towel absorb water. Repeat around your head for about 2 to 5 minutes. Never rub, wring, or scrub your hair with the towel. The goal is gentle absorption only.
Many people in the curly hair community also use a cotton T-shirt for this step with great results. Both microfiber and cotton T-shirts create far less friction than traditional terry cloth towels, which is why they are recommended for all curly hair types.
Section Your Hair
Sectioning makes a huge difference in how evenly your hair dries and how defined your curls turn out. If you scoop large random handfuls of hair into the diffuser, the curls at the bottom get dried and set while the curls on top stay wet and undefined. This leads to that half-curly, half-wavy, stringy look that nobody wants.
For most hair lengths, create 4 to 8 sections using clips. Work from the bottom up, releasing one section at a time as you diffuse. This ensures every curl gets direct, even airflow and sets properly. The time you spend sectioning upfront saves you from spending even more time fixing wonky curls later.
How to Diffuse Curly Hair Without Frizzing the Whole Thing Out
Now we get to the core technique. This is the step-by-step method I recommend for diffusing curly hair without frizz, adapted from techniques shared by curl coaches, professional stylists, and the curly hair community on Reddit.
Step 1: Set Your Dryer to Low Heat and Low Airflow
This is non-negotiable. High heat lifts the cuticle and causes thermal frizz. High airflow physically disrupts the curl pattern before it has a chance to set. Set your dryer to the lowest heat and lowest airflow settings. If your dryer has a cold shot button, you can use that for the final minutes to seal the cuticle.
If your dryer only has one heat and speed setting, you can still diffuse, but you will need to hold the diffuser further from your head and hover diffuse more before touching your hair with the bowl. The goal is always to minimize heat exposure and airflow disruption.
Step 2: Apply Heat Protectant
Before you turn on the dryer, make sure your hair has heat protectant. Even on low heat, a blow dryer applies thermal stress to your hair. A heat protectant spray creates a barrier that reduces damage and helps seal the cuticle. Apply it evenly across damp hair before you start diffusing. This step is often skipped in tutorials, but the curly hair community on Reddit consistently reports that heat protectant makes a noticeable difference in frizz reduction.
Step 3: Hover Diffuse First
Do not put hair into the diffuser bowl right away. Start by hover diffusing, which means holding the diffuser 2 to 3 inches from your head and moving it slowly around without touching your hair. Do this for about 5 to 8 minutes.
The purpose of hover diffusing is to form the gel cast and begin setting the curl pattern before you start physically moving your hair around. Once a light gel cast has formed, your curls are locked in place and much more resistant to the manipulation of pixie diffusing. If you skip the hover step and go straight to cupping hair in the bowl, you risk disturbing wet curls that have not set yet, which leads to frizz and wonky shapes.
Step 4: Pixie Diffuse Section by Section
Once the gel cast has formed and your hair feels tacky but not dripping, it is time for pixie diffusing. This is where the diffuser bowl directly cups your hair. Here is the technique that minimizes frizz.
Gently place a section of hair into the diffuser bowl with the dryer off. Once the hair is settled in the bowl, turn the dryer on to low heat and low airflow. Hold still for 20 to 30 seconds. Then turn the dryer off before removing the diffuser from your hair. Move to the next section and repeat.
The key detail here is turning the dryer on and off while the diffuser is in contact with your hair. If you leave the dryer running while moving the diffuser in and out of your hair, the airflow blows through your hair between sections and causes frizz. This is a small habit change that makes a massive difference.
Step 5: Tilt and Reposition for Root Volume
As you pixie diffuse, tilt your head to different angles. Lean to the left, lean to the right, flip your head upside down. This positions your hair so gravity pulls it away from the roots, creating natural lift and volume. If you only diffuse while sitting or standing upright, gravity pulls your curls straight down, which leads to flat roots and the dreaded triangle-shaped hair.
Use the diffuser prongs to gently lift hair at the crown and around your face. Press the diffuser upward toward your scalp to push volume into the roots. Be gentle, you want to lift the hair without disrupting the curl pattern.
Step 6: Stop at 80 to 90 Percent Dry
This is another common mistake. People keep diffusing until their hair is completely dry, which over-dries the curls and causes them to frizz at the end. Stop when your hair is about 80 to 90 percent dry. The remaining moisture will air dry within a few minutes without disturbing the curl pattern.
Over-drying also creates that crunchy, stiff gel cast that feels like helmet hair. You want the cast to be firm but not rock hard. Letting hair finish air drying keeps the curls soft and bouncy.
Step 7: Break the Cast With Oil
Once your hair is mostly dry and the gel cast has fully set, take a few drops of hair oil on your palms and gently scrunch your curls. This breaks the gel cast and transforms stiff, crunchy curls into soft, defined, touchable curls. Use a light oil like argan, jojoba, or a dedicated hair serum. Avoid heavy oils if you have fine or low-porosity hair.
3 Diffusing Methods Explained: Hover, Pixie, and Scrunch
Throughout the technique above I mentioned hover diffusing and pixie diffusing. There is also a third method called scrunch diffusing. Understanding the difference between these three methods helps you choose the right approach for your hair type and goals.
Hover Diffusing
Hover diffusing is when you hold the diffuser near your hair without the bowl touching it. You move the diffuser slowly around your head, letting the warm air gently dry the surface of your curls. This is the gentlest diffusing method and is ideal for the beginning of your drying session when curls are still setting. It is also the best method for fine, fragile, or easily disturbed hair types.
Use hover diffusing for the first 5 to 10 minutes of your session to form the gel cast. After that, you can transition to pixie diffusing for more targeted drying and volume.
Pixie Diffusing
Pixie diffusing is when you cup sections of hair directly into the diffuser bowl. The prongs of the diffuser lift and separate the hair while warm air flows through. This method provides more direct drying and helps create volume at the roots. It is ideal for thicker, coarser hair that needs more heat and airflow to dry in a reasonable time.
The critical technique for frizz-free pixie diffusing is to turn the dryer on only after the hair is in the bowl, and turn it off before removing the bowl. This prevents airflow from blowing through the hair between sections.
Scrunch Diffusing
Scrunch diffusing is when you use the diffuser to physically scrunch your hair upward toward your scalp. This method is great for encouraging curl formation and adding volume, especially for wavy hair types that need help clumping into defined curls. It is also useful for refreshing curls on day 2 or day 3.
Scrunch diffusing carries a higher risk of frizz because you are moving the hair around while air flows through it. Use this method sparingly, and only after the gel cast has formed and the curls are mostly set.
Most people get the best results by combining all three methods. Start with hover diffusing to set the cast, switch to pixie diffusing for targeted drying and volume, and finish with a few gentle scrunch diffusing motions to encourage curl formation. Adjust the balance based on your hair type and how much volume you want.
5 Common Diffusing Mistakes That Cause Frizz (And How to Fix Them)
If you are still getting frizz despite following the technique above, you might be making one of these common mistakes. The curly hair community on Reddit has identified these as the top reasons people struggle with frizz after diffusing.
Mistake 1: Diffusing Soaking Wet Hair
This is the most common mistake. Many tutorials tell you to diffuse soaking wet hair, but water droplets inside the diffuser bowl disturb the curl pattern and create frizz. The fix is simple. Microplop first to remove excess water, then hover diffuse for 5 to 8 minutes until a gel cast forms. Only then should you start cupping hair in the bowl.
Mistake 2: High Heat and High Airflow
High heat causes thermal frizz by lifting the cuticle. High airflow physically disrupts curls before they set. Always start on low heat and low airflow. If your hair is very thick and takes too long to dry, you can bump up to medium heat for short bursts, but never use the highest settings.
Mistake 3: Diffusing Only Upright
When you diffuse while sitting or standing upright, gravity pulls your curls straight down. This leads to flat roots, the dreaded triangle shape, and less overall volume. Instead, tilt your head to the left and right while diffusing. Flip your head upside down for a few minutes to lift the roots. Use the diffuser prongs to gently push hair upward at the crown.
Mistake 4: Moving Between Sections With the Dryer On
This is a subtle but powerful mistake. If you leave the dryer running while moving the diffuser from one section to the next, the airflow blows through the curl pattern during the transition. Turn the dryer on only after the diffuser bowl is in contact with your hair, and turn it off before removing. It feels awkward at first, but it becomes second nature and dramatically reduces frizz.
Mistake 5: Touching Hair While It Dries
Every time you touch your hair while it is drying, you disrupt the curl pattern and roughs up the cuticle. Keep your hands off until your hair is 80 to 90 percent dry. The only exception is gentle scrunching with a microfiber towel during the microplopping phase. Once the gel cast has set and your hair is mostly dry, you can break the cast with a small amount of oil.
Hair Type-Specific Diffusing Tips
No competitor comprehensively covers different hair types, and this is a major gap. The diffusing technique that works for someone with 3b curls might not work for someone with 2a waves or 4a coils. Here is a breakdown of how to adjust your diffusing approach based on your hair type.
Type 2 (Wavy Hair: 2a, 2b, 2c)
Wavy hair is the most fragile curl type and the most prone to frizz from over-manipulation. If you have wavy hair, use a lighter hand with products and techniques. Wavy hair typically does not need heavy curl creams. A leave-in conditioner and a light to medium hold gel are usually enough.
For diffusing, hover diffuse longer and pixie diffuse less. Wavy hair loses its pattern easily when cupped in the diffuser bowl. Spend the first 10 to 12 minutes hover diffusing to set the wave pattern, then use short 15-second pixie diffusing bursts if needed. Scrunch diffusing can help encourage wave formation but use it sparingly.
Type 3 (Curly Hair: 3a, 3b, 3c)
Type 3 hair is the most responsive to diffusing and typically shows the most dramatic improvement from a good diffusing routine. For 3a to 3c curls, the standard method works well. Apply a leave-in, curl cream, and gel to soaking wet hair. Microplop, hover diffuse for 5 to 8 minutes, then pixie diffuse in sections.
Type 3 hair can handle more manipulation than type 2, so you can spend more time on pixie diffusing and volume techniques. The 20 to 30 second hold per section is ideal. You can also use scrunch diffusing at the end to encourage curl formation and bounce.
Type 4 (Coily Hair: 4a, 4b, 4c)
Coily hair has the tightest curl pattern and often the most density, which means it takes the longest to dry. Type 4 hair benefits from thicker, more moisturizing products like heavy curl creams, butter-based stylers, and strong-hold gels. The gel cast on coily hair tends to be firmer, which is actually a good thing because it keeps the tight curl pattern defined and frizz-free.
For diffusing, type 4 hair can handle higher heat and longer hold times per section. Pixie diffusing is the primary method, with 30 to 45 seconds per section. Focus on small sections to ensure even drying. Type 4 hair also benefits from stretching techniques, where you gently pull the hair downward in the diffuser to reduce shrinkage and create length.
Fine and Thin Curly Hair
If your curls are fine or thin, heavy products will weigh them down and make them look greasy. Stick to lightweight leave-in sprays and light-hold gels. Diffuse with the hover method primarily, and keep pixie diffusing brief to avoid flattening your curls.
Thick and Coarse Curly Hair
Thick, coarse curls need more moisture and stronger hold. Use richer curl creams and strong-hold gels. You can diffuse with slightly higher heat and longer session times because your hair is more resilient. Section thoroughly, because thick hair takes significantly longer to dry evenly.
Best Products for Frizz-Free Diffusing
The right products make a massive difference in your diffusing results. Here are six products I recommend that directly support the frizz-free diffusing technique covered in this guide. Each one plays a specific role in the routine, from prepping your hair to setting your curls.
Below is a quick comparison of all six products, followed by detailed reviews of each one.
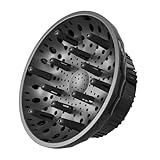
Ludvento Universal Hair Diffuser
- Universal fit 1.4-2.4 inch dryers
- Ionic frizz-reducing technology
- Lightweight 6.3oz travel design
- Heat-resistant nylon construction

SheaMoisture Coconut and Hibiscus Curl…
- Coconut oil and shea butter
- Sulfate and silicone free
- 24k+ reviews
- Excellent curl definition

Ouidad Advanced Climate Control Gel
- Anti-frizz nano technology
- Humidity-resistant silk protein
- Crunch-free soft hold
- All curl types
| Product | Specifications | Action |
|---|---|---|
| Ludvento Universal Hair Diffuser |
|
Check Latest Price |
| SheaMoisture Curl Enhancing Smoothie |
|
Check Latest Price |
| Ouidad Advanced Climate Control Gel |
|
Check Latest Price |
 Marc Anthony Strictly Curls Leave-In Marc Anthony Strictly Curls Leave-In |
|
Check Latest Price |
 Luseta Curl Heat Protectant Spray Luseta Curl Heat Protectant Spray |
|
Check Latest Price |
 Hicober Microfiber Hair Towel Wrap Hicober Microfiber Hair Towel Wrap |
|
Check Latest Price |
1. Universal Hair Diffuser Attachment by Ludvento
Universal Hair Diffuser for Blow Dryer – Fits All 1.4-2.4 inch Dryers, Professional Ionic Diffuser Attachment for Curly/Wavy Hair, Reduces Frizz & Enhance Curls, Lightweight, Travel-Friendly (Black)
Universal fit for 1.4-2.4 inch dryers
Ionic technology
Lightweight 6.3oz
Heat-resistant nylon
Pros
- Fits Dyson
- Shark
- Conair
- Babyliss and most dryers
- Reduces frizz with ionic technology
- Lightweight and travel-friendly at 6.3oz
- Heat-resistant nylon construction
- Very affordable price point
Cons
- Rubber liner can come loose during travel
- Slightly bulky for packing
- Tricky to attach the first few times
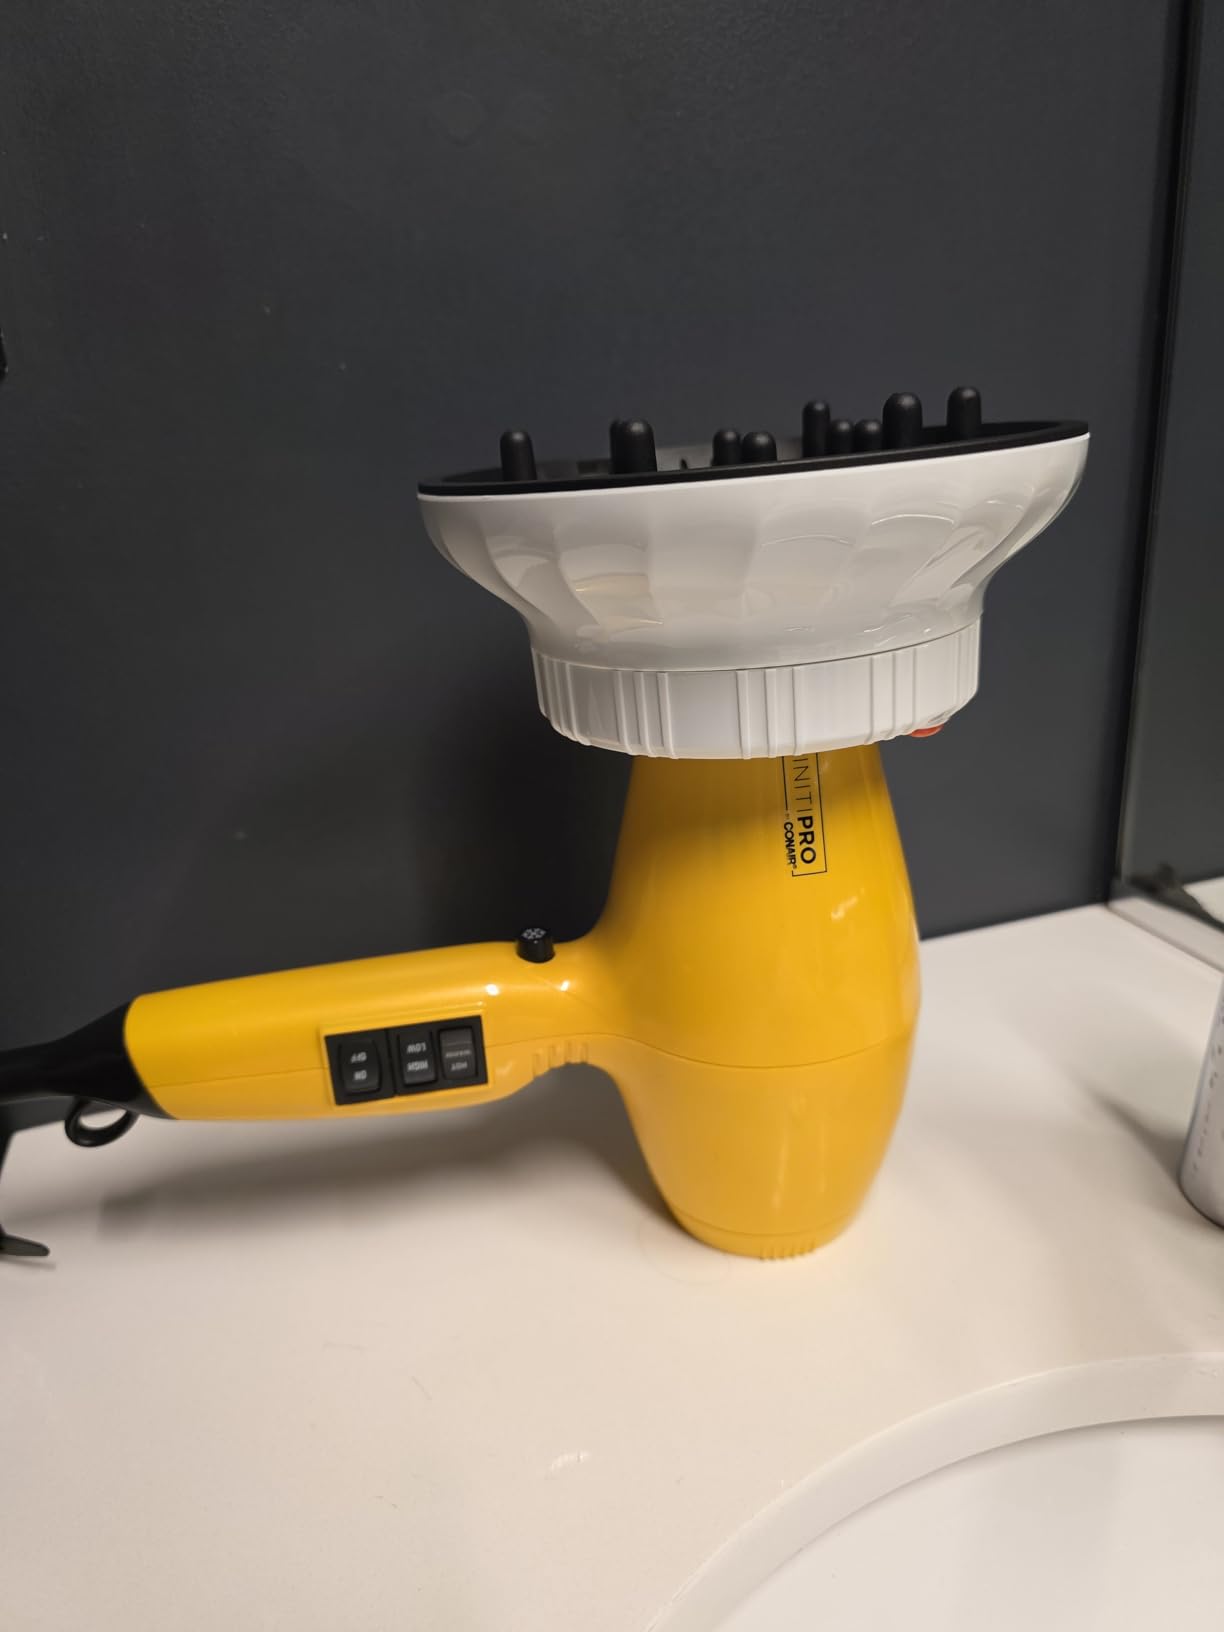
If you do not already have a diffuser attachment, this universal one from Ludvento is an excellent and affordable choice. It fits almost any blow dryer with a nozzle between 1.4 and 2.4 inches, including Dyson, Shark, Conair, and BaByliss models. The ionic technology helps reduce frizz at the source, and the lightweight design makes it easy to maneuver during your diffusing session.
What I like about this diffuser is the silicone adapter that creates a secure, non-slip fit on your dryer. No more diffusers flying off mid-session. The heat-resistant nylon construction means it will hold up over time, and at this price point, it is one of the most accessible ways to start your frizz-free diffusing journey.
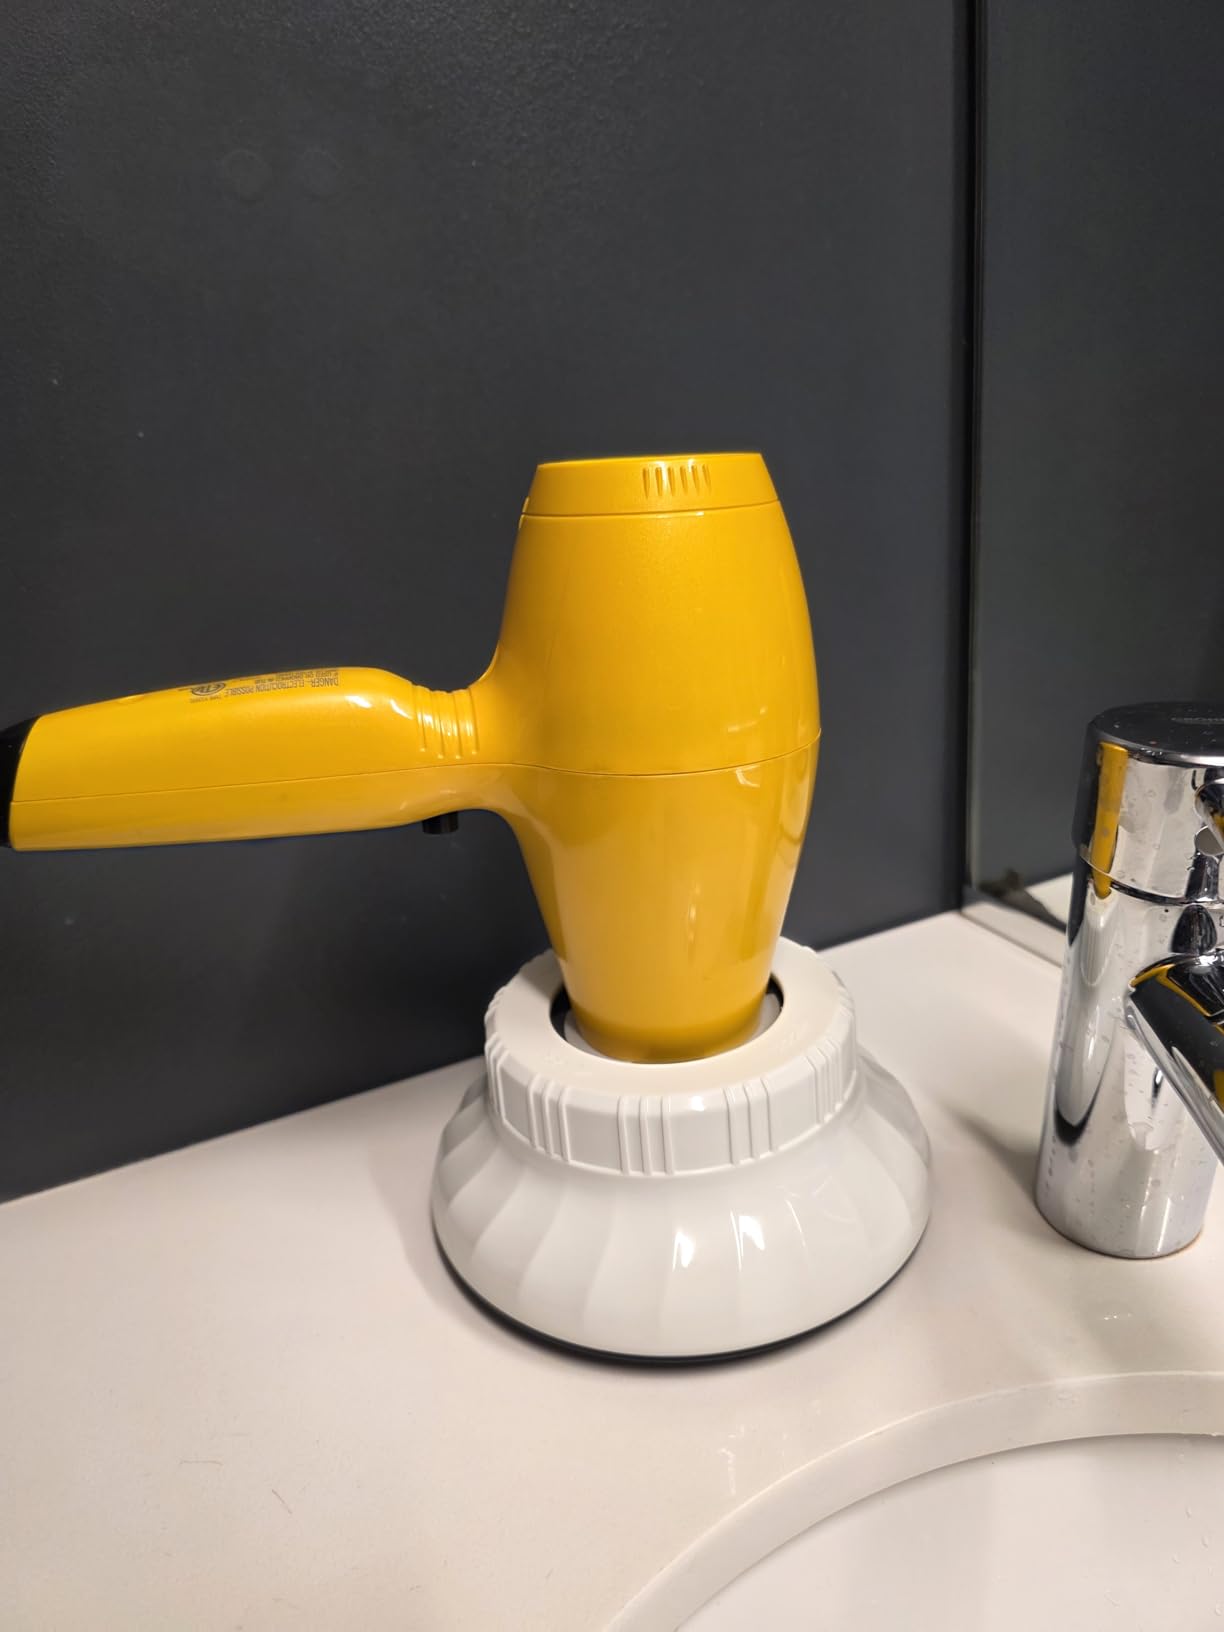
With over 570 reviews and a 4.4-star rating, users consistently praise how well it works with various dryer brands and how much it reduces frizz compared to air drying alone. Several reviewers mention it works even with hotel dryers during travel.
2. SheaMoisture Coconut and Hibiscus Curl Enhancing Smoothie
SHEAMOISTURE Curl Enhance Smoothie, 12 OZ
Coconut oil and hibiscus
Shea butter and silk protein
Sulfate and silicone free
For thick curly hair
Pros
- Excellent curl definition and clumping for thick hair
- Reduces frizz without weighing hair down
- Free of sulfates silicones and parabens
- Adds brilliant shine and moisture
- Great value for 12 ounces
- Pleasant coconut hibiscus scent
Cons
- Can be too heavy for fine or thin hair
- May cause buildup on low porosity hair
- Jar packaging is inconvenient for scooping
This is the curl cream I recommend for anyone with type 3 or type 4 hair. With over 24,000 reviews and a 4.6-star rating, it is one of the most trusted curl creams on the market. The coconut oil, shea butter, and silk protein formula provides the moisture and definition that thick curly hair needs before diffusing.
Apply this smoothie to soaking wet hair after your leave-in conditioner and before your gel. A little goes a long way, so start with a small amount and add more as needed. The cream helps your curls clump together into defined spirals rather than separating into frizzy stringy strands.
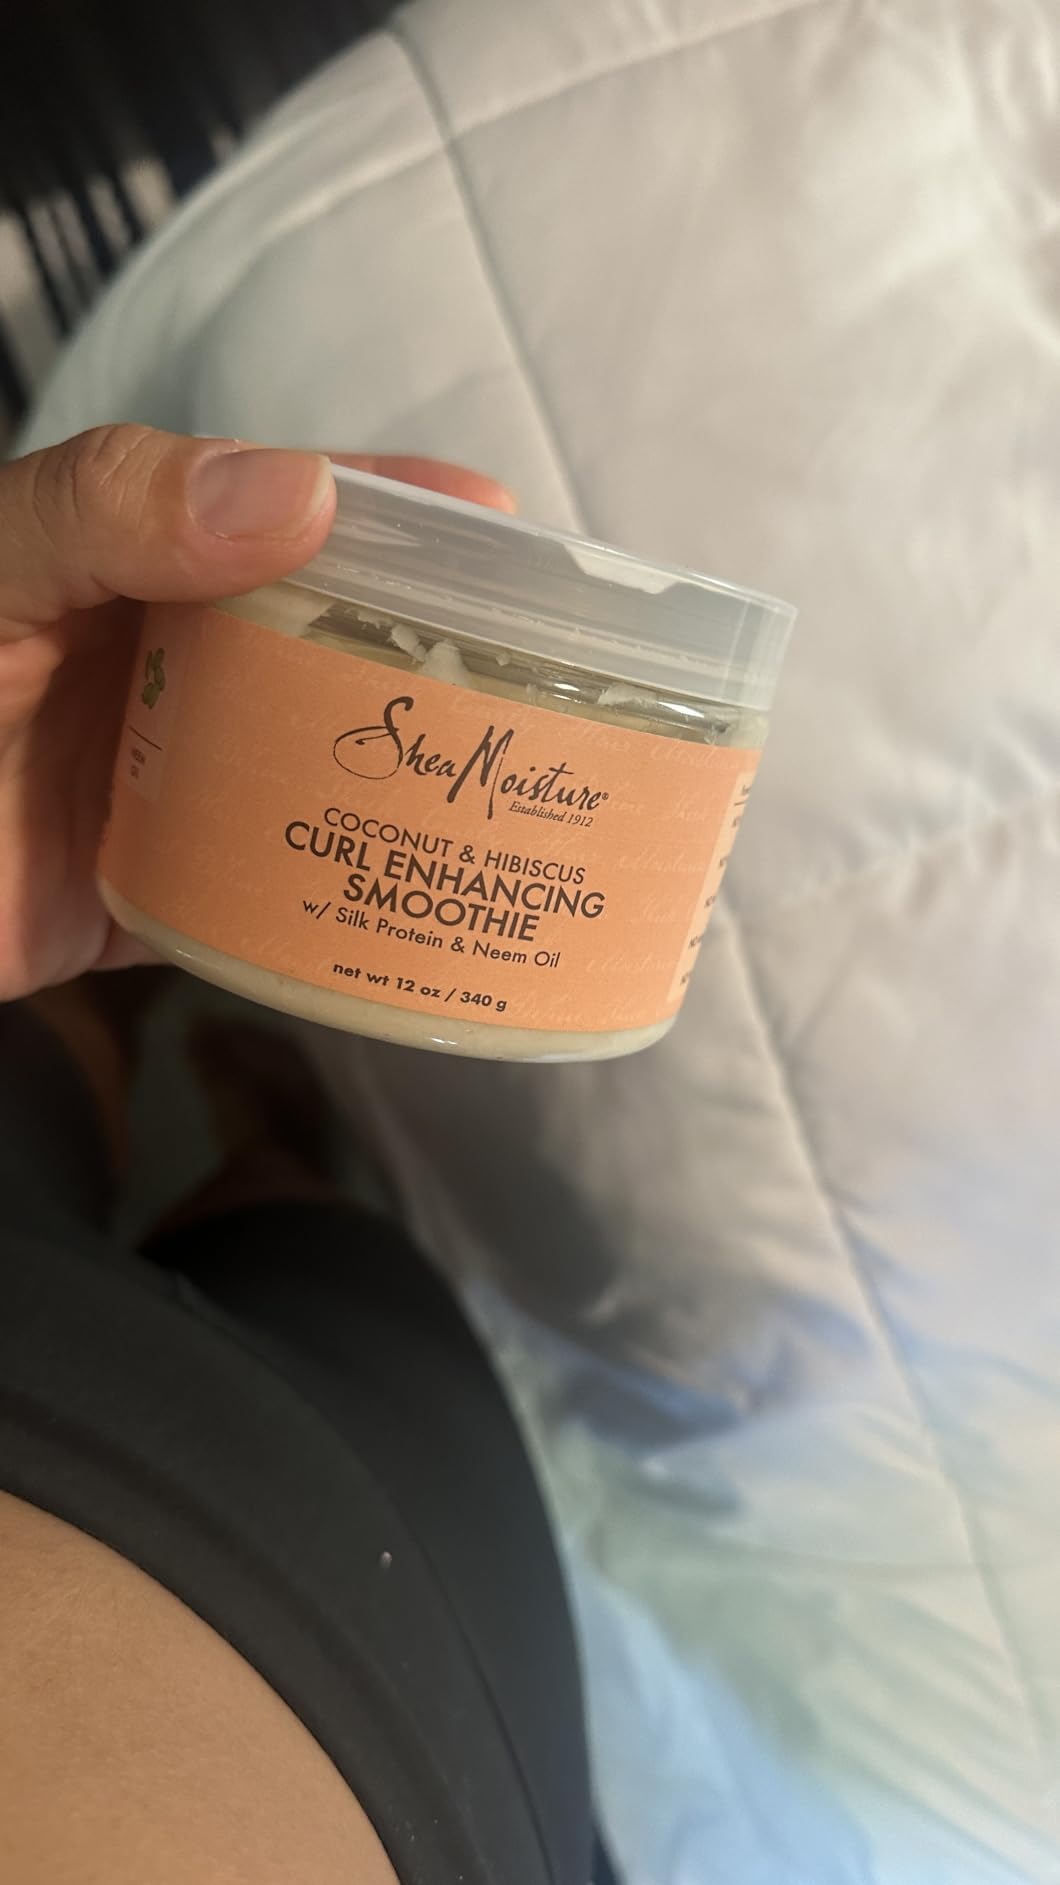
The silicone-free, sulfate-free formula means it will not build up on your hair over time, which is essential for maintaining healthy curl patterns. The Fair Trade Community Commerce ethos is a bonus for anyone who values ethical sourcing.
3. Ouidad Advanced Climate Control Heat and Humidity Gel
Ouidad Advanced Climate Control Heat & Humidity Gel – 8.5 fl oz, Anti-Frizz Nano Technology, Locks Out Humidity, Crunch-Free Styling Gel for Curly Hair, For All Curl Types
Anti-frizz nano technology
Sericin silk protein
Crunch-free soft hold
Humidity resistant
Pros
- Crunch-free soft touchable hold
- Excellent humidity and frizz control
- Works on all curl types including type 4
- Lightweight and non-greasy
- Multi-day hold when styled properly
- Silk protein creates humidity barrier
Cons
- Relatively expensive compared to drugstore gels
- May struggle in extreme humidity for fine hair
- Small bottle size for the price
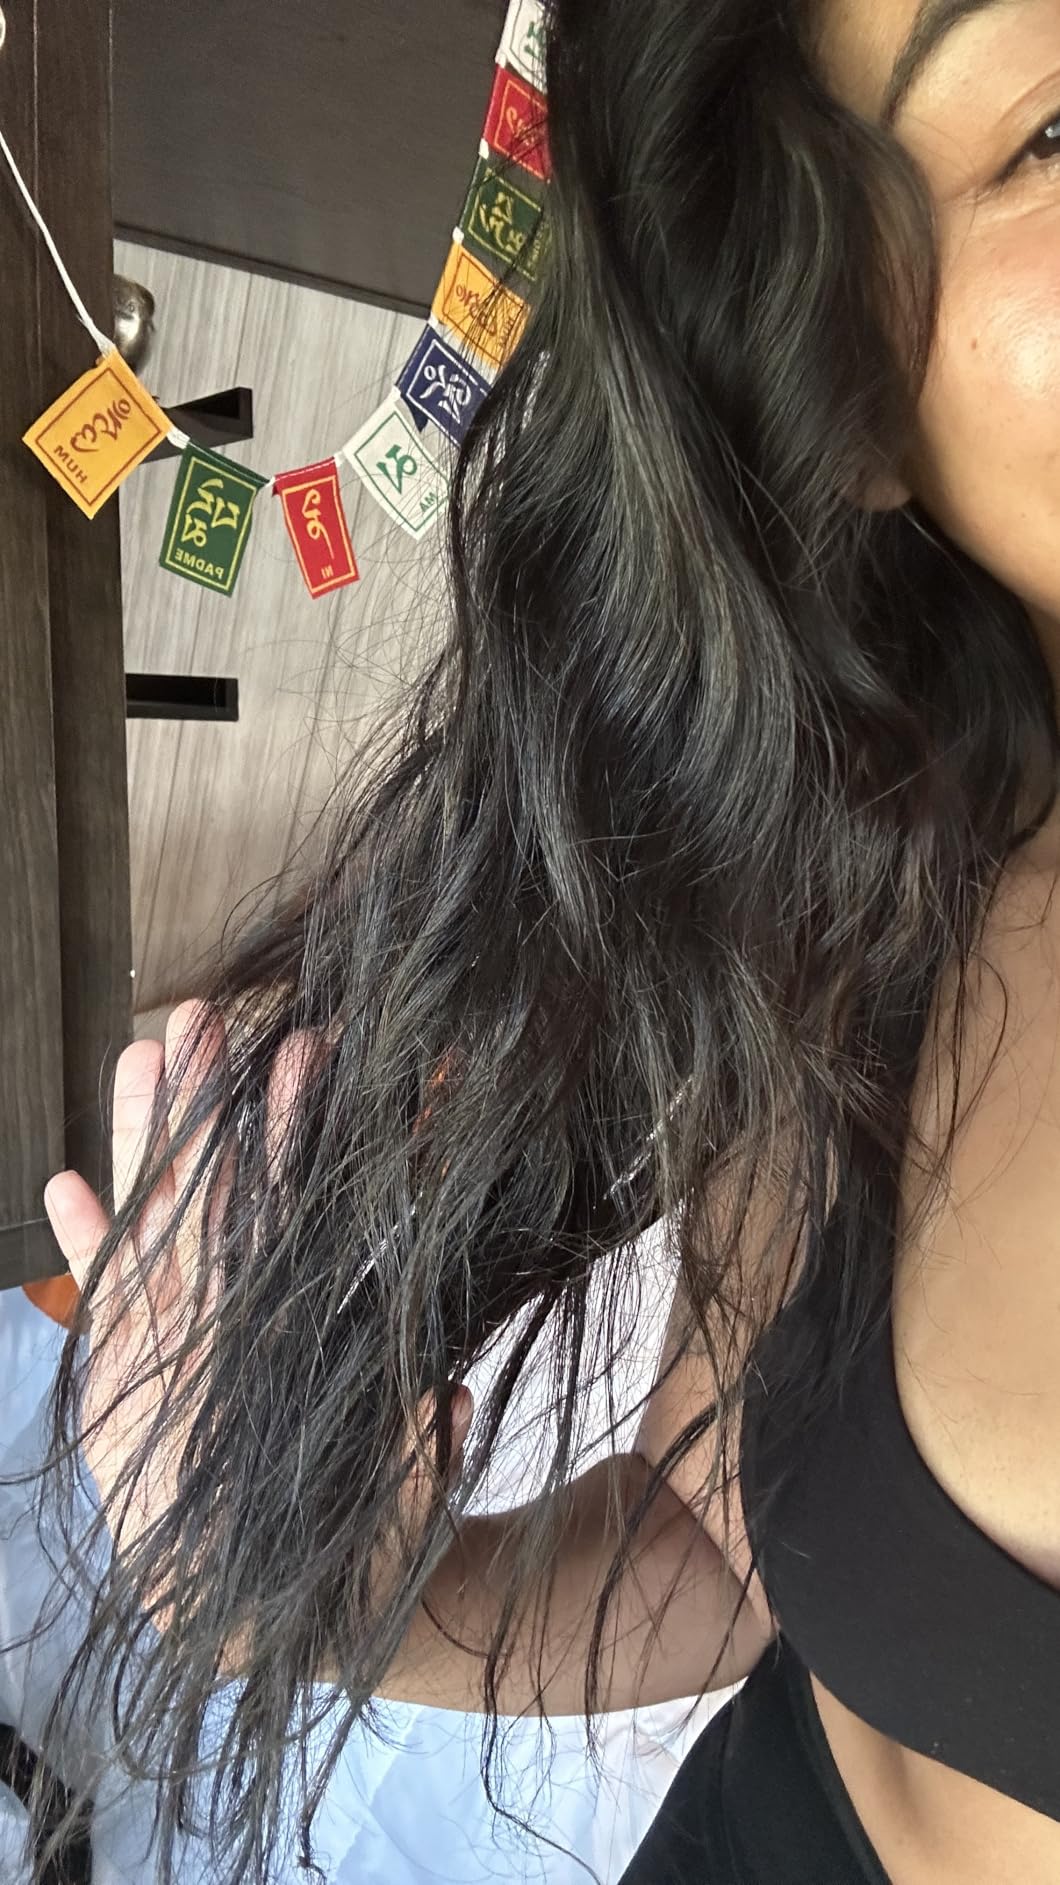
This is the gel I recommend for the final step of your product routine, especially if you live in a humid climate. The Ouidad Advanced Climate Control Gel uses anti-frizz nano technology with sericin, a silk protein that creates a protective barrier against humidity. It provides a crunch-free, soft hold that keeps curls defined for days.
With nearly 6,000 reviews and a 4.5-star rating, this gel is a favorite among people with all curl types, from loose waves to tight coils. Apply it to soaking wet hair using the scrunching method after your curl cream. The gel cast it forms is firm enough to hold your curl pattern through the diffusing process but softens beautifully when you break the cast with oil.
What sets this gel apart is its humidity resistance. If you have ever diffused your hair to perfection only to watch it frizz the second you step outside, this gel addresses exactly that problem. The ceramides and wheat protein also help lock in moisture and keep your curls hydrated.
4. Marc Anthony Strictly Curls Leave-In Conditioner
Marc Anthony Strictly Curls, Leave-In Hair Conditioner Spray for Curly Hair
Shea butter and avocado oil
Vitamin E
Spray-on leave-in
For all curl types
Pros
- Excellent detangling properties
- Lightweight hydration without weighing hair down
- Enhances curl definition and shine
- Reduces frizz significantly
- Works on all curl types including 4c
- Affordable price point
Cons
- Spray nozzle emits solid stream not fine mist
- Can feel slightly sticky if over-applied
- Occasional bottle spillage in shipping
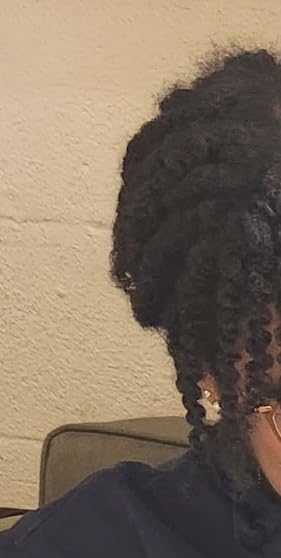
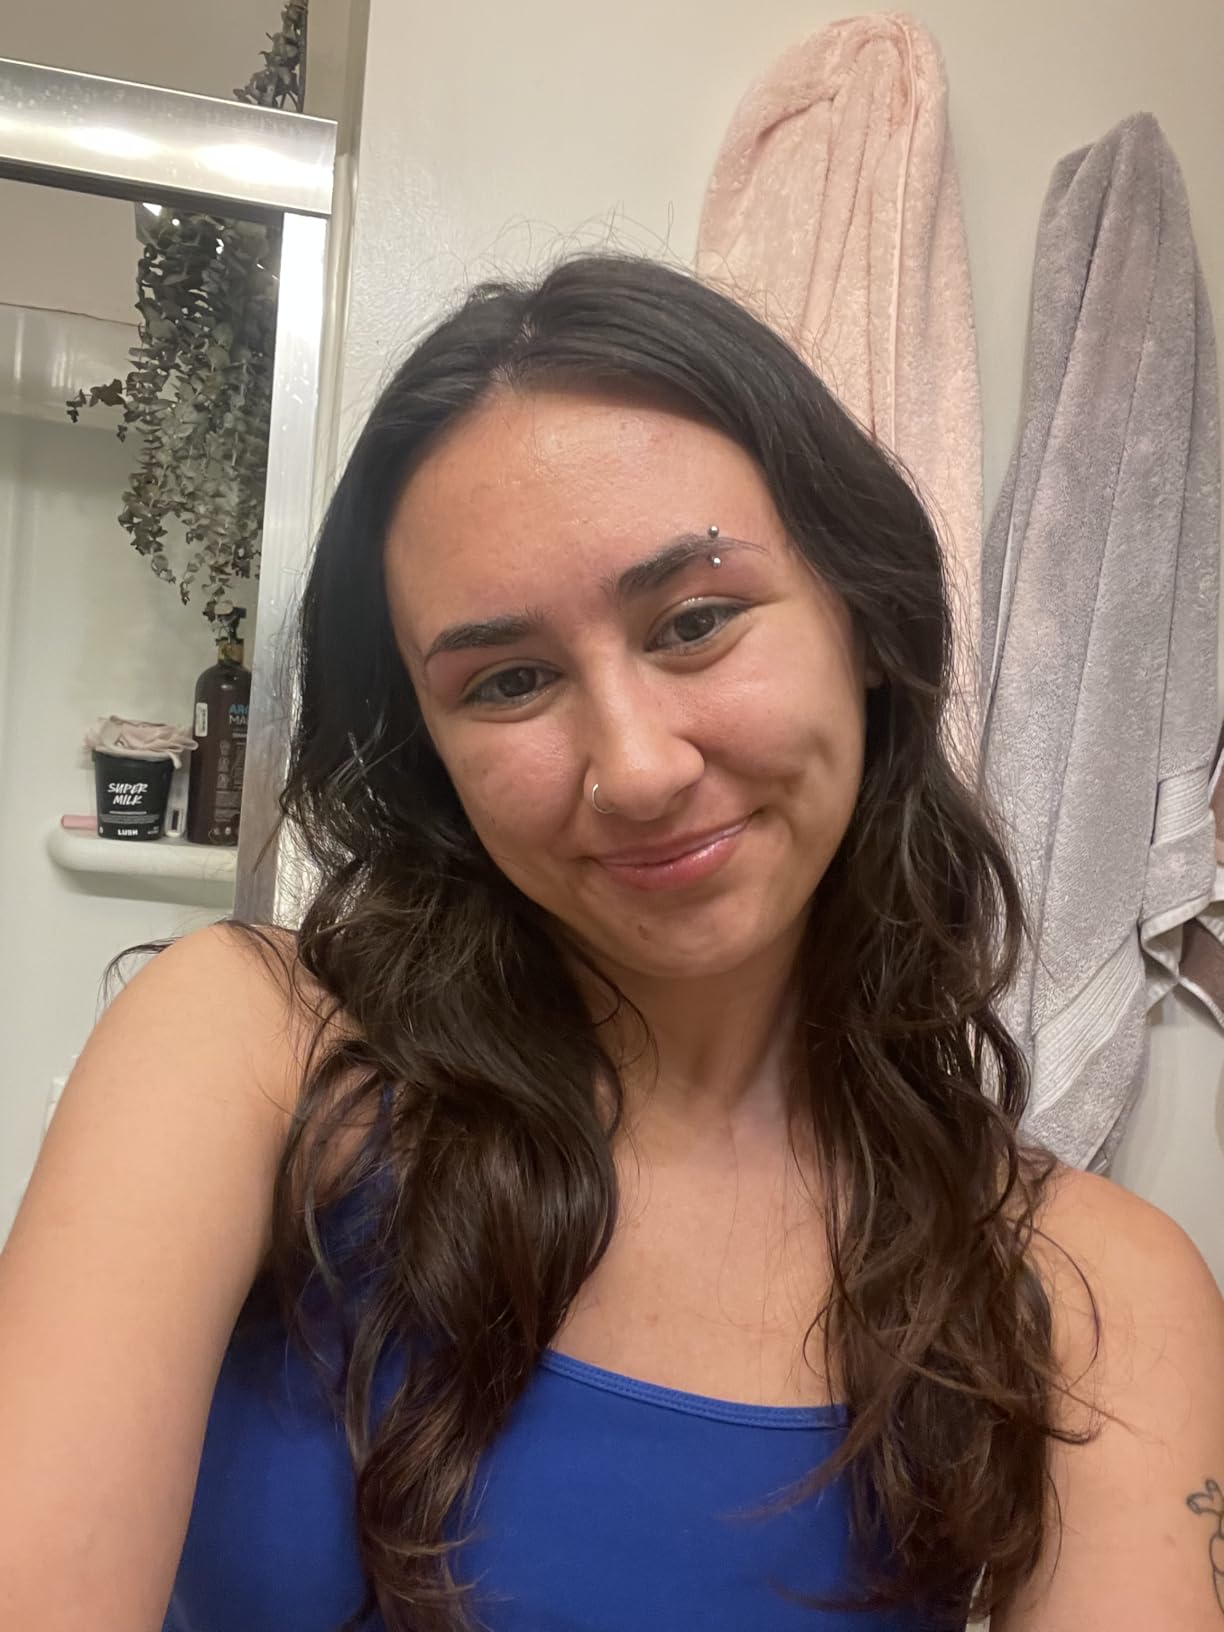
This is the leave-in conditioner I recommend for the first step of your product routine. With over 8,000 reviews and a 4.4-star rating, the Marc Anthony Strictly Curls Leave-In Conditioner is praised for its detangling ability and lightweight hydration. The shea butter, avocado oil, and vitamin E formula melts through tangles and provides the moisture base your curls need before diffusing.
Spray this onto soaking wet hair right after you get out of the shower. Rake it through with your fingers or a wide-tooth comb to distribute evenly. This creates the hydration layer that prevents your hair from seeking moisture from the air later, which is one of the main causes of frizz.
The sulfate-free, paraben-free formula works on all curl types, from loose waves to 4c coils. It is affordable enough to use generously, which is exactly how you want to apply leave-in conditioner for frizz-free diffusing results.
5. Luseta Curl Heat Protectant Spray
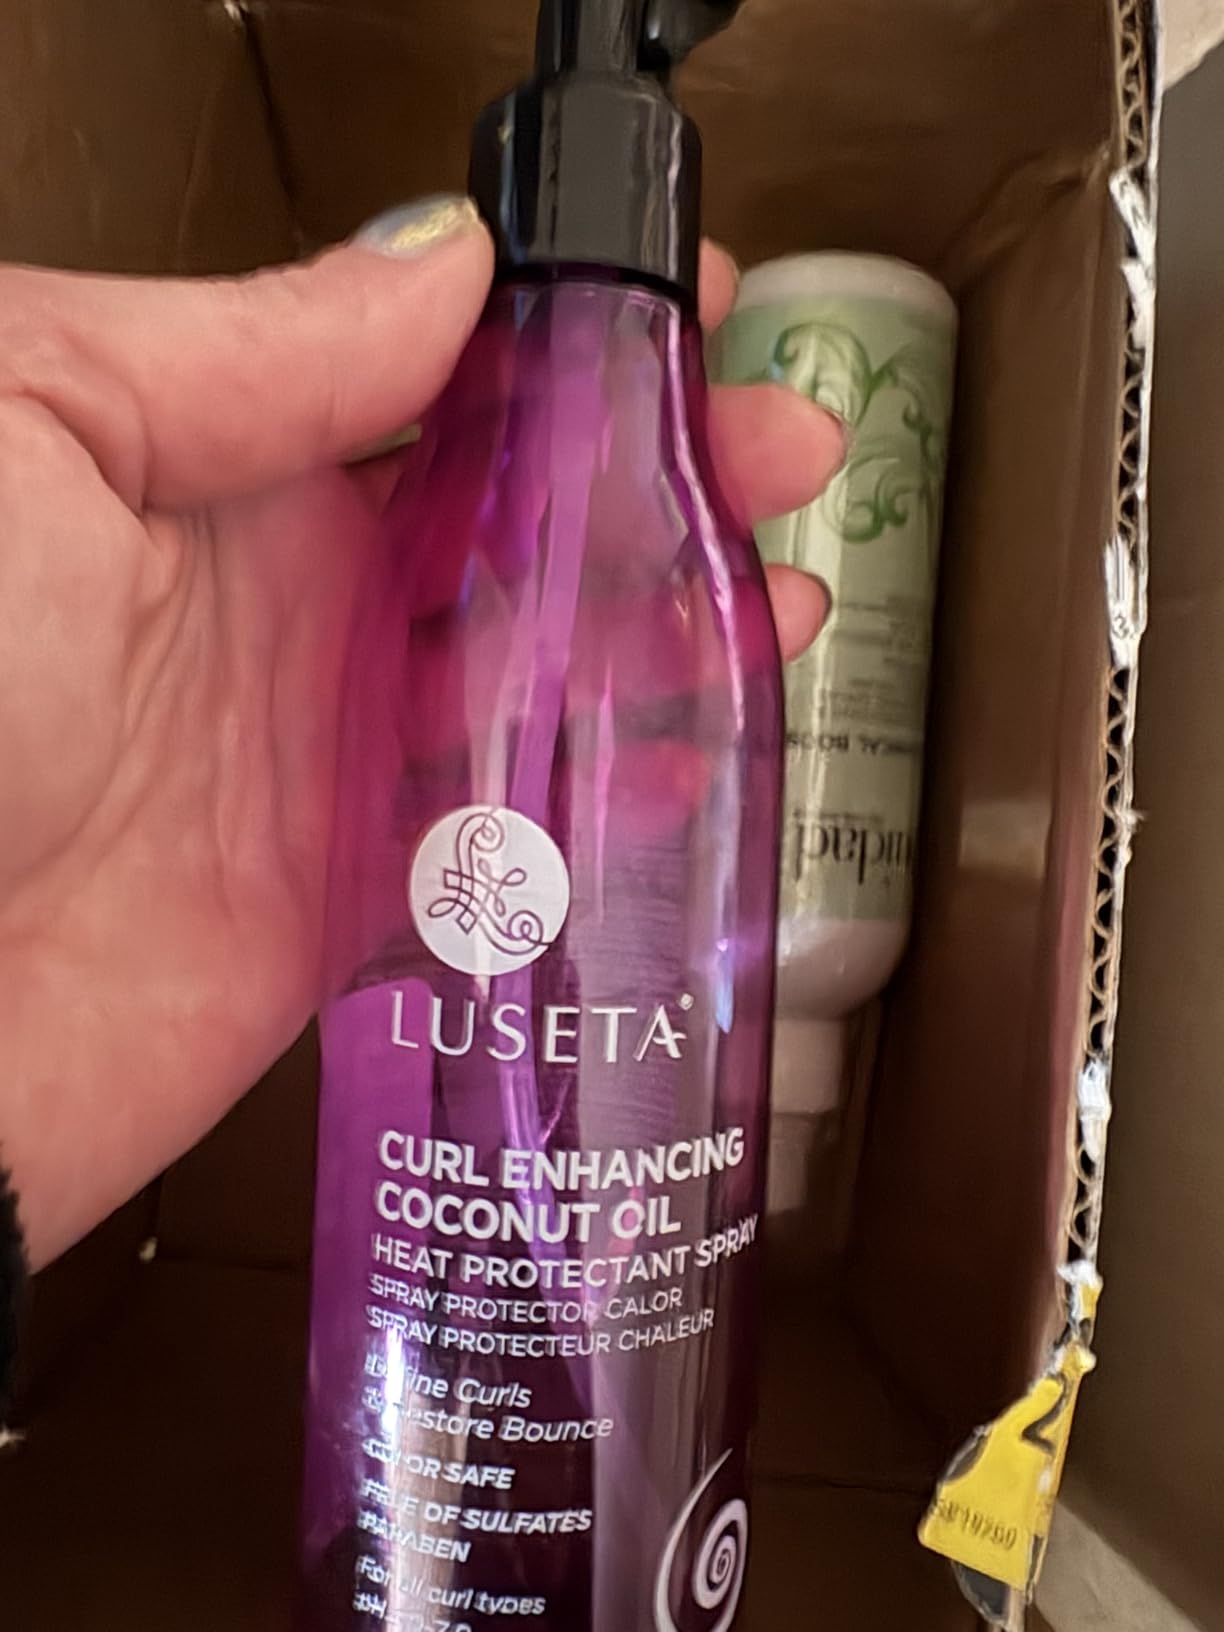
Luseta Curl Heat Protectant Spray for Curly & Wavy Hair, 8.5 oz
Coconut and argan oil
Thermal protection
Curl defining
Non-greasy spray
Pros
- Specifically formulated for curly and wavy hair
- Thermal protection against heat styling
- Defines curls and restores bounce
- Lightweight non-greasy formula
- Reduces frizz effectively
- Coconut and argan oil nourish hair
Cons
- Smaller review sample size
- Scent not prominently detailed
- Price may be high for the volume
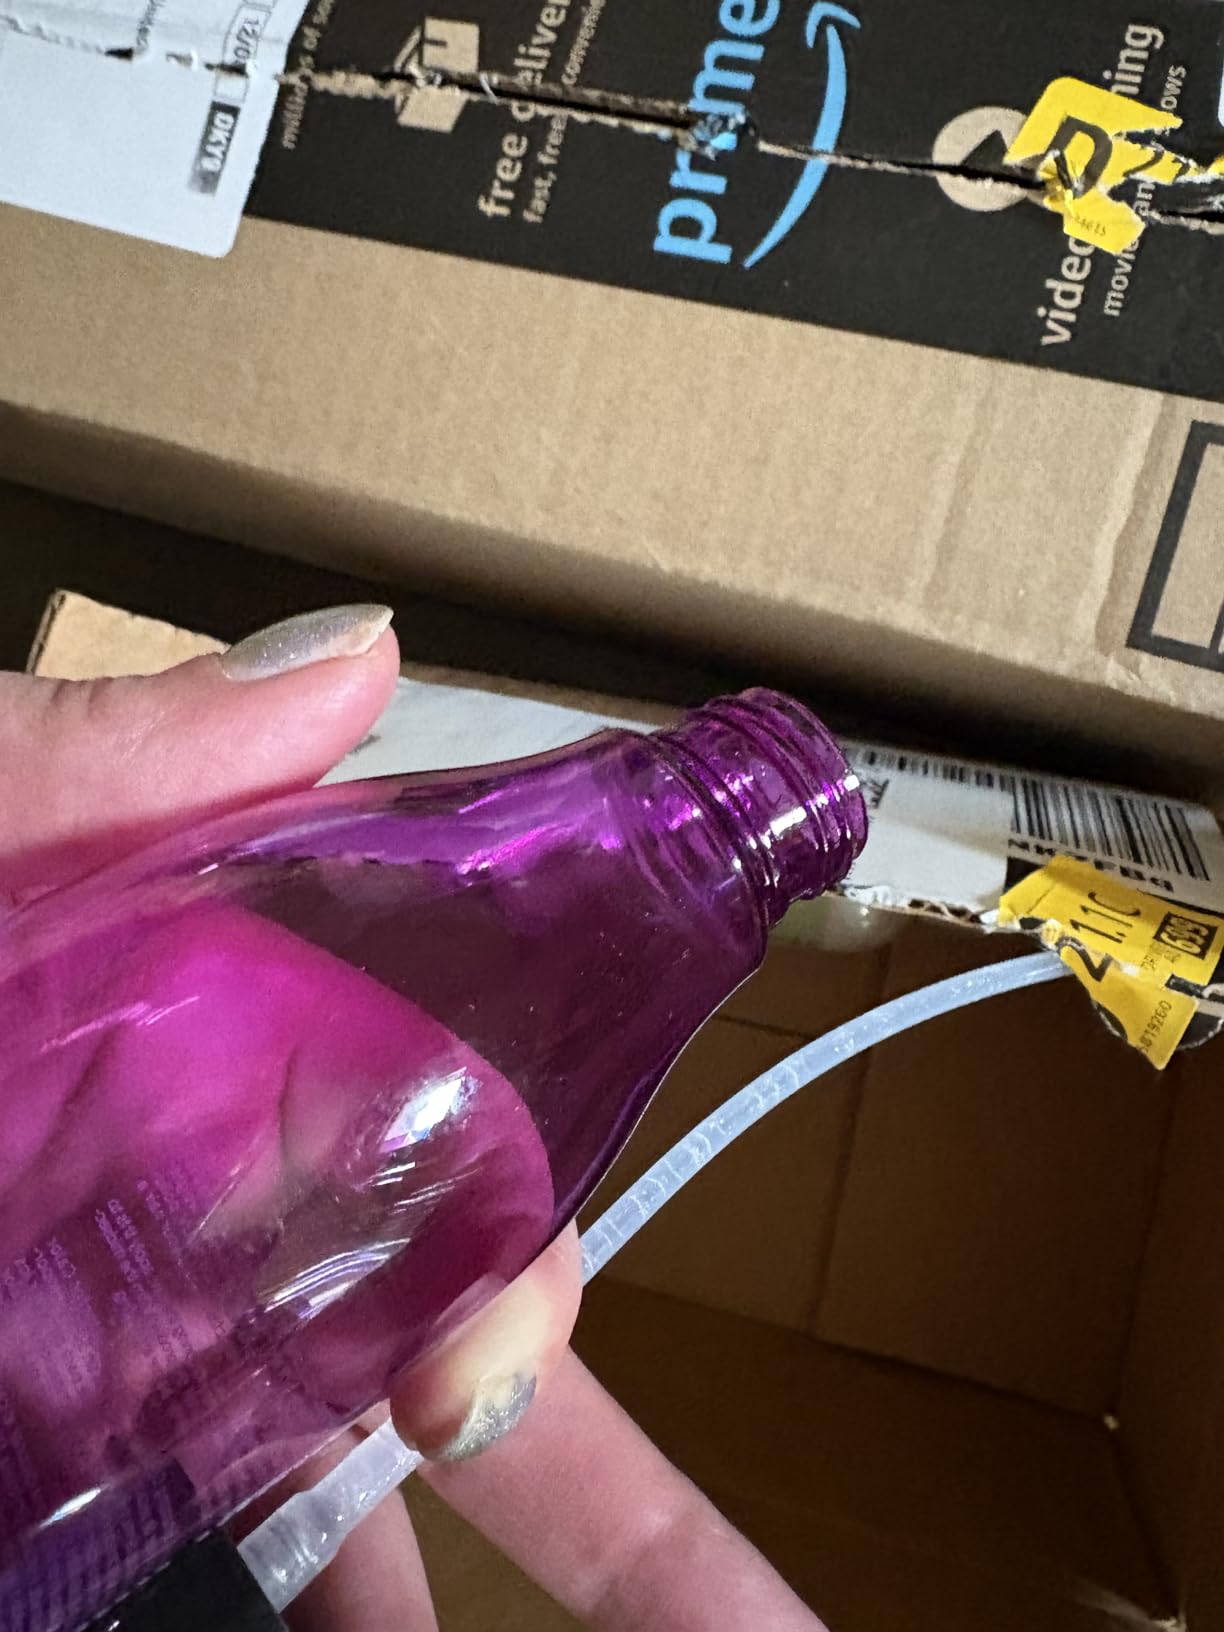
Even on low heat, your blow dryer applies thermal stress to your hair. The Luseta Curl Heat Protectant Spray is specifically formulated for curly and wavy hair, which sets it apart from generic heat protectants. The coconut oil and argan oil formula provides thermal protection while also defining curls and restoring bounce.
Spray this evenly onto damp hair before you start diffusing. Comb through with your fingers for even distribution. With a 4.5-star rating across over 400 reviews, users consistently praise how it keeps curls moisturized and frizz-free without weighing them down.
The Reddit curly hair community consistently reports that heat protectant makes a noticeable difference in frizz reduction, even on medium and low heat settings. This product bridges that gap with a formula designed specifically for curl patterns.
6. Hicober Microfiber Hair Towel Wrap (3-Pack)
Hicober Microfiber Hair Towel Wrap for Women, Blue Grey Pink, 3-Pack
Premium microfiber 3-pack
Reduces blow-dry time 50%
Anti-frizz design
Elastic loop closure
Pros
- Amazon number one best seller in hair drying towels
- Absorbs water quickly cutting drying time
- Gentle on curly hair reducing frizz-causing friction
- Lightweight with secure elastic loop
- 3-pack offers excellent value
- Machine washable and durable
Cons
- May be too large for smaller heads
- May need rewrapping for very thick hair
- Elastic loop can be slightly tight
This is the microfiber towel I recommend for the microplopping step of your routine. With nearly 35,000 reviews and a 4.6-star rating, the Hicober Microfiber Hair Towel Wrap is the number one best seller in Hair Drying Towels on Amazon. The microfiber material absorbs water 50 percent faster than cotton, which significantly reduces your diffusing time.
More importantly for frizz-free results, this towel is gentle on your hair cuticle. Regular terry cloth towels create friction that lifts the cuticle and causes immediate frizz. The smooth microfiber surface glides over your curls, absorbing water without disrupting the curl pattern.
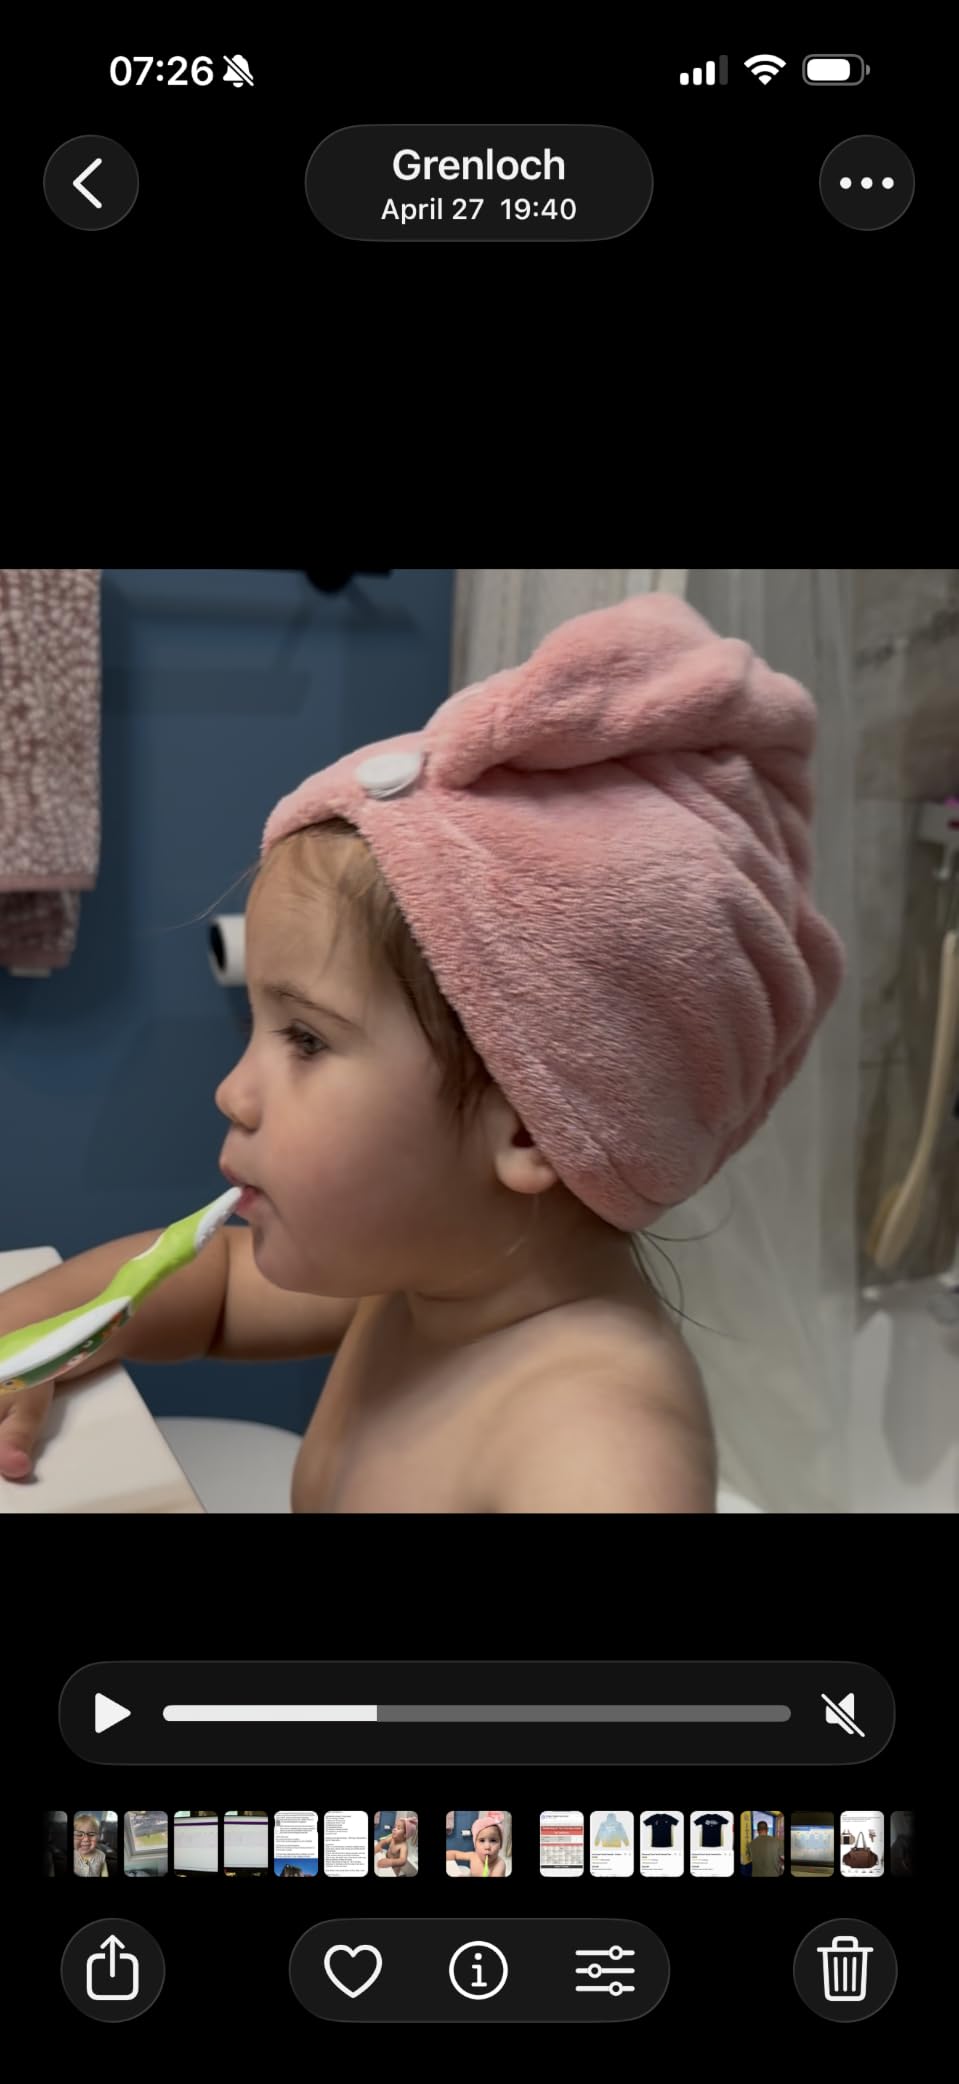
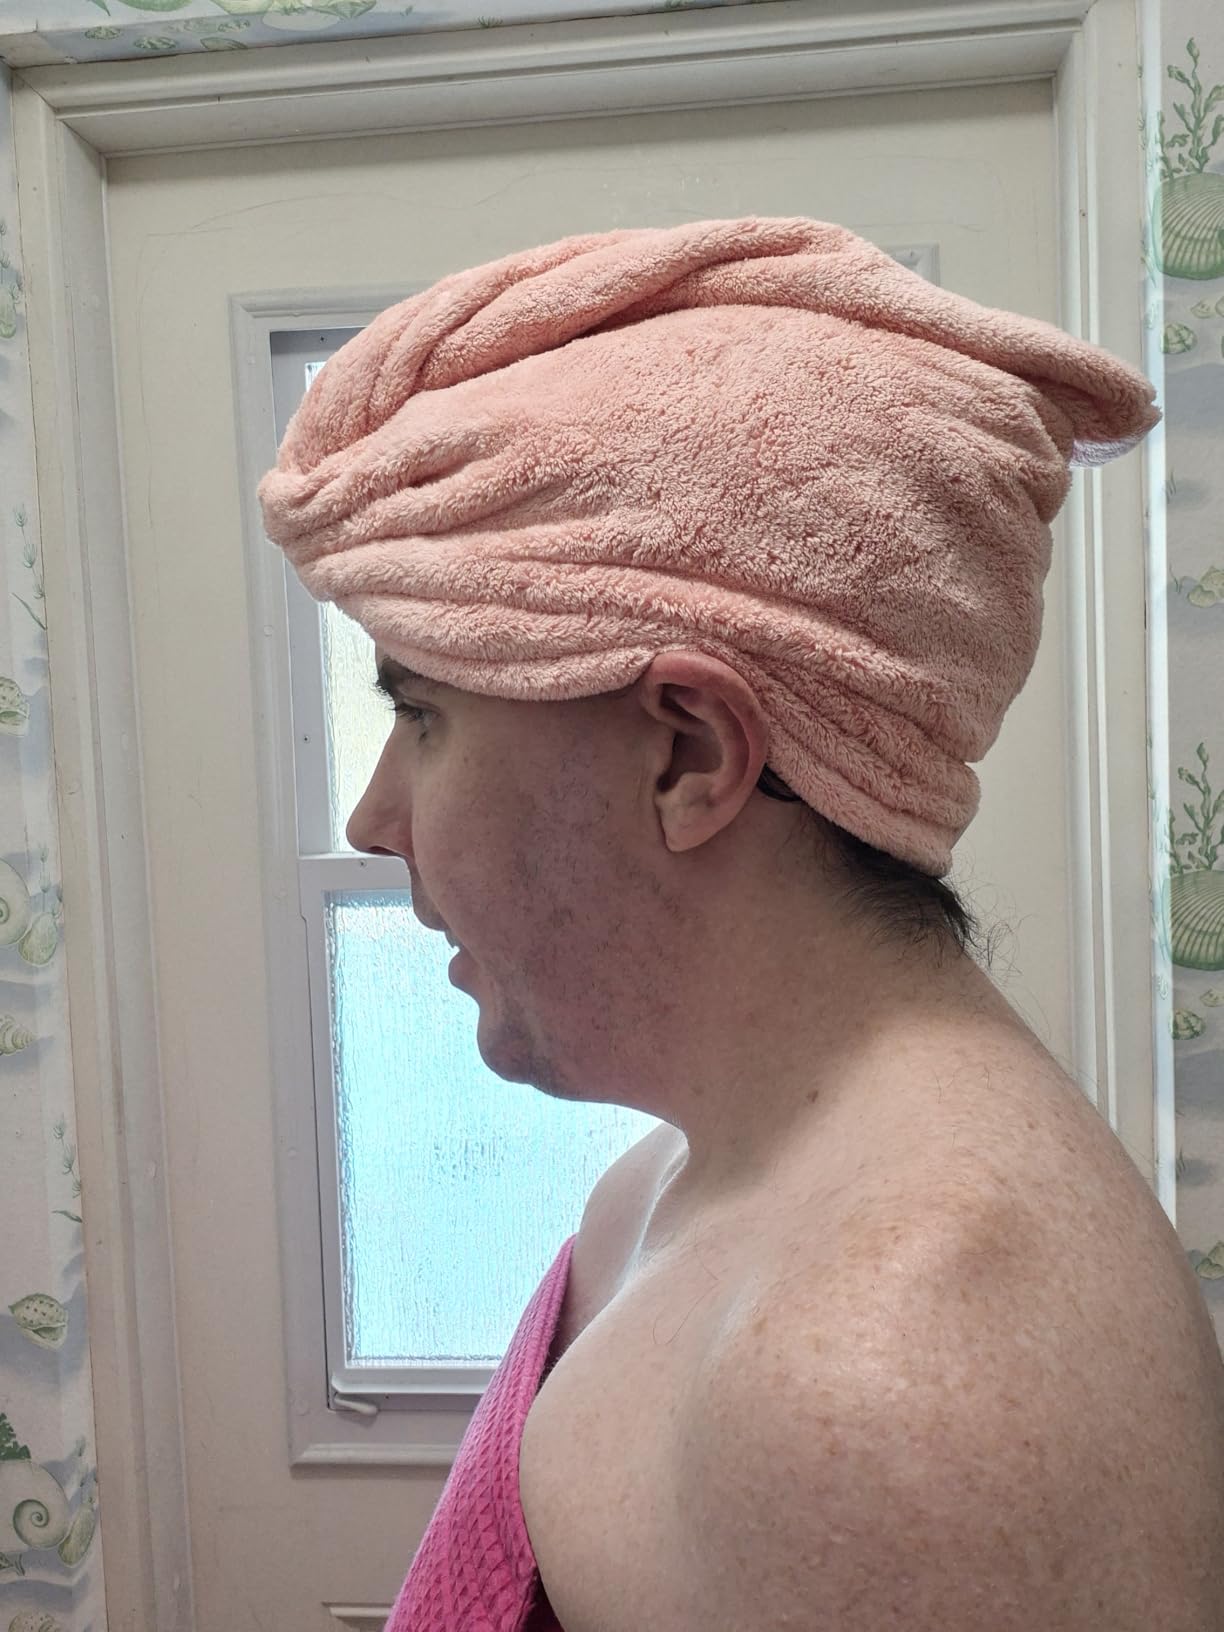
The 3-pack gives you a towel for home, gym, and travel. The elastic loop keeps the towel securely wrapped on your head while you apply makeup, get dressed, or do other prep tasks. At this price for three towels, it is one of the best investments you can make in your curly hair routine.
Troubleshooting: Why Is My Hair Still Frizzy?
If you have followed the technique and product recommendations above and you are still getting frizz, this section will help you identify the cause. Here are the most common reasons hair stays frizzy after diffusing and how to fix each one.
Cause 1: You Started Diffusing Before the Gel Cast Formed
If you rushed through the hover diffusing phase and went straight to pixie diffusing, your curls had not set yet. Wet, unset curls get disrupted by the diffuser bowl and air pressure. Next time, hover diffuse for a full 5 to 8 minutes before touching the bowl to your hair. Test for the gel cast by gently touching a curl. If it feels tacky and springy, the cast is forming. If it feels wet and loose, keep hovering.
Cause 2: Your Heat or Airflow Was Too High
Even if you think you set your dryer to low, double check. Some dryers have confusing settings where the first click is high. Test the airflow on your hand before putting it near your hair. If it feels forceful on your skin, it is too high for your curls.
Cause 3: You Touched Your Hair While It Dried
Even gentle touching during the drying process disrupts the curl pattern and roughs up the cuticle. Once you apply your products and start diffusing, keep your hands completely off until your hair is at least 80 percent dry. The only exception is scrunching with a microfiber towel during microplopping.
Cause 4: You Did Not Use Enough Product
Curly hair needs more product than most people think. If your curls are frizzy and undefined, you may not have used enough gel or curl cream. Next time, be more generous. A good rule of thumb is to use a palm-full of gel for shoulder-length hair, adjusting up or down based on length and density.
Cause 5: Humidity Is Getting to Your Hair
If your hair looks great right after diffusing but frizzes up within an hour, humidity is the culprit. Use a humidity-resistant gel like the Ouidad Advanced Climate Control Gel recommended above. On high-humidity days, apply a small amount of hair oil after breaking the cast to create an extra barrier against moisture in the air.
Day 2 Refresh Tips
One of the biggest content gaps I found across competitors was day 2 maintenance. Here is how to refresh your diffused curls the next morning. Spritz your hair lightly with water or a water-and-leave-in conditioner mix to reactivate the products from yesterday. Use your hands to gently scrunch your curls back into shape. If you have a diffuser, hover diffuse on low heat for 2 to 3 minutes to set the refreshed curls. Finish with a few drops of oil to smooth any frizz that appeared overnight.
Humidity-Specific Diffusing Advice
No competitor covers humidity considerations, so here is what you need to know. On humid days, use more gel than usual and choose a humidity-resistant formula. Apply a light layer of hair oil after breaking the cast to seal the cuticle against moisture in the air. Avoid diffusing right before going outside if the humidity is above 70 percent. Let your hair set indoors for at least 20 minutes before exposing it to humid air.
In very dry climates, the opposite problem occurs. Your hair may lose moisture too quickly and become brittle. Use richer curl creams and leave-in conditioners, and avoid diffusing on high heat even if you are tempted to speed things up.
How to Diffuse Curly Hair Without a Diffuser
Many people search for alternatives because they do not own a diffuser attachment. While a dedicated diffuser gives the best results, there are a couple of DIY alternatives. The first is to use your blow dryer on the lowest heat and airflow settings, holding it at least 12 inches from your head and pointing it downward. This mimics air drying but speeds it up. The risk of frizz is higher, so apply extra product and keep the dryer far from your hair.
Another option is to cup your hair in your hand and direct the dryer at your cupped hand, letting your fingers disperse the airflow the way a diffuser bowl would. This is not as effective as a real diffuser, but it is better than direct blow drying. If you diffuse regularly, investing in an affordable universal diffuser attachment like the Ludvento model recommended above is worth every penny.
FAQs
What are the common mistakes to avoid when using a diffuser for curly hair?
The five most common diffusing mistakes are diffusing soaking wet hair without microplopping first, using high heat or high airflow, diffusing only while sitting upright, leaving the dryer running while moving between sections, and touching your hair while it dries. Each of these mistakes causes the hair cuticle to lift, which creates frizz. Fix them by microplopping first, using low heat and low airflow, tilting your head to different sides, turning the dryer off between sections, and keeping your hands off until hair is 80 to 90 percent dry.
Why is my curly hair frizzy after diffusing?
Your hair is likely frizzy after diffusing because of one or more of these causes: you started diffusing before the gel cast formed, your heat or airflow setting was too high, you touched your hair while it was drying, you did not use enough styling product, or humidity is getting through your product barrier. Identify which factor applies to your situation and adjust your technique for your next diffusing session.
How do I diffuse curly hair for more volume?
To get maximum volume when diffusing, tilt your head to the left and right while pixie diffusing, flip your head upside down for a few minutes to lift the roots, and use the diffuser prongs to gently push hair upward at the crown. Avoid diffusing only while sitting or standing upright, because gravity pulls your curls straight down and creates flat roots. You can also apply a volumizing product at the roots before diffusing.
Should I diffuse my hair wet or damp?
You should apply your styling products to soaking wet hair, then microplop to remove excess water before diffusing. Never put soaking wet hair directly into the diffuser bowl, because water droplets disrupt the curl pattern and cause frizz. Your hair should be damp and tacky, not dripping, when you start pixie diffusing. Start with hover diffusing to form the gel cast before moving to the bowl.
How long should I hold the diffuser on each section?
Hold the diffuser on each section for 20 to 30 seconds for type 2 and type 3 hair, and 30 to 45 seconds for type 4 coily hair. Holding for less than 20 seconds means the curl has not had time to set. Holding for too long causes heat damage and creates wonky, bent curl shapes. Always turn the dryer off before moving to the next section.
Can progesterone make your hair curly?
Hormone changes, including shifts in progesterone during pregnancy, menopause, or from medication, can affect hair texture. Some people report their hair becoming curlier or straighter after hormonal changes. However, this is separate from the diffusing technique covered in this article. If your hair texture has changed recently, you may need to adjust your diffusing approach and product routine to match your new curl pattern.
Final Thoughts on Frizz-Free Diffusing
Learning how to diffuse curly hair without frizzing the whole thing out comes down to understanding why frizz happens and adjusting your technique to prevent it. Frizz is simply lifted cuticles, and every step in the method I shared is designed to keep those cuticles flat. Low heat, low airflow, proper product application on soaking wet hair, microplopping, hover diffusing first, pixie diffusing with the dryer on-off technique, and hands-off until dry are the habits that separate frizz-free results from a fuzzy mess.
Remember that diffusing is a skill that improves with practice. Your first few sessions might not be perfect, and that is normal. Pay attention to what works and what does not, adjust based on your specific hair type, and be patient with yourself. The combination of the right technique and the right products will get you to defined, bouncy, frizz-free curls.
If you take away just one tip from this entire guide, let it be this. Turn the dryer off before moving the diffuser between sections. That single habit change has helped more people in the curly hair community eliminate frizz than any other adjustment. Try it on your next wash day and see the difference for yourself.